Far Far West Acid + Fire Combo Build — Thrower, Fireball, and Mino Silent Showcase Run

The Thrower + Fireball + Mino build for Far Far West: apply acid via Thrower and Mino summons, ignite with Fireball for triple-damage combos. Full silent gameplay showcase from start to train extraction.
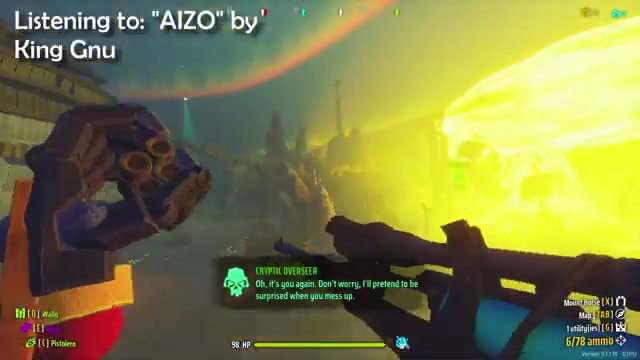
No talking, no explanations, no filler — just pure Far Far West gameplay showcasing the Thrower + Fireball + Mino build at full throttle. This 10-minute silent run demonstrates one of the most visually explosive loadouts in the game, from start of mission to final train extraction.
If you learn better by watching a build being played than reading about it, this is your video. Here's the breakdown of what's happening.
The Loadout
Reading the HUD across the run, the setup is:
| Slot | Pick |
|---|---|
| Q (Utility) | Thrower |
| E (Spell 1) | Fireball |
| C (Spell 2) | Mino |
| Weapons | Full-auto secondary + primary rotation |
| Character build | HP + spell cooldown focus |
The build lives on the interaction between the Thrower's acid projectiles, Fireball's raw damage, and Mino summons pulling aggro across every fight.
Thrower — The AoE Utility Nobody Runs Enough

The Thrower utility fires arcing acid blobs that create damage pools on the ground. Key advantages:
- Massive AoE — one throw can hit a whole tight enemy cluster
- Ground pools persist and stack
- Doubles as a Fireball ignition source — throw acid, then fireball, watch the world burn
- Very low cooldown compared to spell equivalents
This is the tech that makes the whole build work. The Thrower sets up damage-over-time zones, then Fireball detonates them for insane spike damage.
Fireball — The Acid Ignition Trigger

Fireball on its own is fine. Fireball hitting an acid patch is a game-ender. The combo:
- Throw acid with Thrower (or Mino applies acid on hit)
- Cast Fireball into the acid cloud
- Every enemy in the AoE takes:
- Base Fireball damage
- Ignited-acid explosion damage
- Lingering burn tick
Standard trash mobs die instantly. Elites lose 60-80% HP per combo.
Mino — The Passive Damage Engine

The Mino spell summons acid-imbued creatures that autonomously attack nearby enemies. Why this fits:
- Free acid application — no need to Thrower every group, Minos apply it for you
- Distraction — enemies target the summons, not you
- Passive DPS — while you cast Fireball, the Minos keep tagging targets
- Ammo-independent — works even when you're reloading
In the video you can see the green Mino auras chunking enemies while the player focuses on positioning.
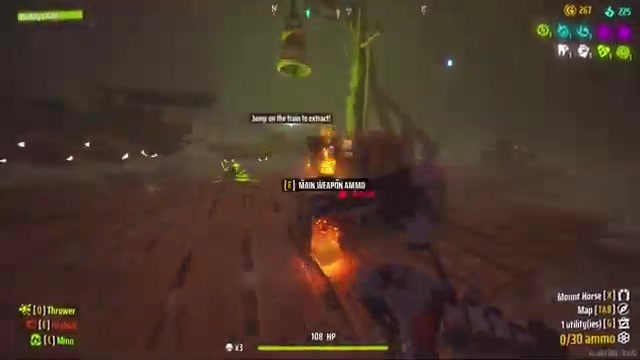
Train Arrival Objective — Boss Wave
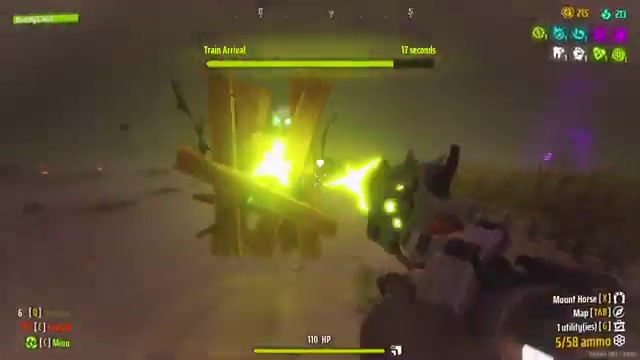
The Train Arrival timer objective is where this build shines. When the timer starts and enemies pour in:
- Drop 2-3 Thrower charges to cover the choke points
- Cast Fireball on the densest wave
- Let Minos handle the stragglers
- Reload primary while the DoT pools clean up
The player finishes the wave with 110 HP remaining — the acid+fire combo shredded the boss and its adds before they could close distance.
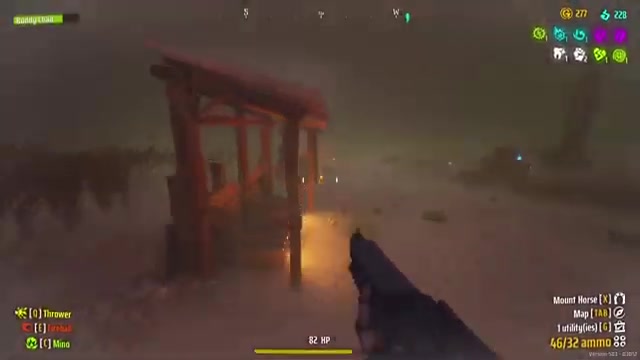
Mid-Run Under a Roof
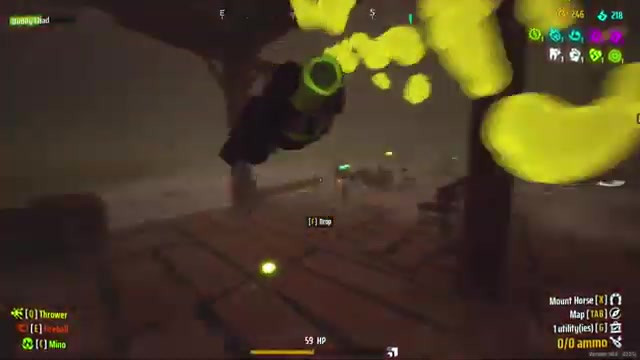
One of the smartest plays in the run: retreating under a wooden structure while dropping acid clouds through the openings.
The AI enemies path around cover but still walk into the pool damage. You're safe, they're dying. Classic acid-DoT positioning.
Multi-Elite Fight
When multiple elites spawn (red HP bar visible + purple auras), the answer is the same:
- Thrower for area denial
- Fireball into the cluster
- Minos for cleanup
- Kite while cooldowns come back
Even against multiple red-bar elites, the build sustains through the acid-fire combo pressure.
Extraction — The Train
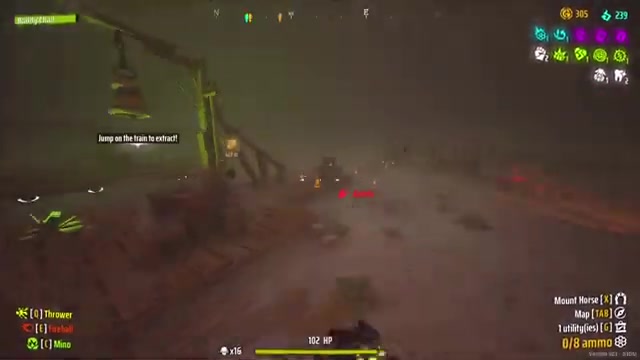
The classic "Jump on the train to extract!" prompt appears. This is when Far Far West mission designers reveal their sadistic side — they spawn one final wave right as you're trying to board.
Solution: preemptive Thrower coverage on the tracks. Any enemy trying to intercept eats the acid pool and dies before they can shoot.
Extraction score visible: x16 kills at extraction time. Zero deaths.
Boss Damage Showcase
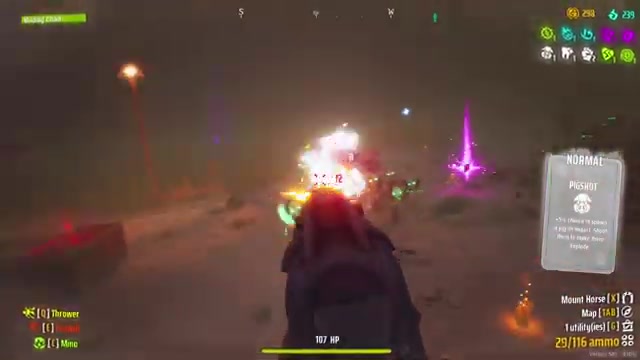
Against direct boss encounters (visible in the middle of the run), the tactic shifts slightly:
- Focus fire the boss with primary weapon
- Stack acid via Thrower for the ignition setup
- Fireball for burst damage windows
- Minos as targeting distraction
Bosses melt because their large hitboxes absorb the full acid+fire AoE from every combo.
Late-Run Chaos
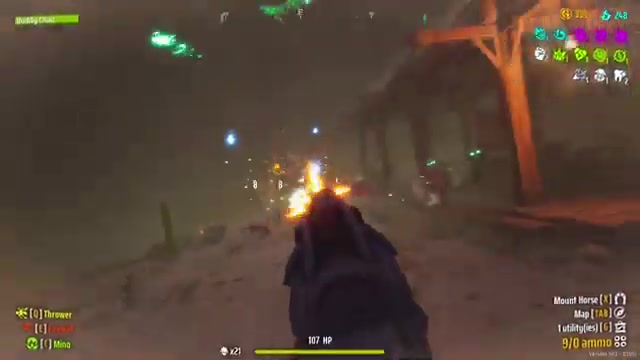
The visual signature of this build in the later stages of the mission:
- Yellow acid pools everywhere
- Green Mino auras chunking peripherally
- Constant red damage numbers popping
- Player HP staying above 60%
Total sensory overload for enemies, complete map dominance for the player.
Final Extraction

Safe extraction. Kills stacked. Build validated.
Why This Build Works — Summary
| Advantage | Detail |
|---|---|
| Damage multiplier | Acid + Fire combo hits triple: base + ignition + DoT |
| Ammo economy | Spells and Thrower don't need bullets |
| Passive DPS | Minos and DoT pools do damage while you reposition |
| AoE dominance | Perfect for danger zones and reinforcement waves |
| Boss viability | Focus fire + acid stacking = solid single-target |
Quick Reference
| Component | Pick |
|---|---|
| Utility | Thrower |
| Spell 1 | Fireball |
| Spell 2 | Mino |
| Combo priority | Acid → Fire → Repeat |
| Best against | Grouped enemies, waves, timed objectives |
| Weakness | Fast solo elites that dodge AoE |
| Playstyle | Set traps, kite, detonate |
Bring This Into Your Next Run
If you've been running a single-element pyromancer build, adding acid via Thrower or Mino makes the fire spells hit exponentially harder. It's the highest-damage combo per cast currently in the game, and it doesn't require any specific weapon — bring whatever primary you're comfortable with.
The video runs completely silent — no explanation, no music beyond ambient. Just watch how the pools stack and the Fireball detonations chain, and copy the positioning.
Silent showcase, all gameplay, no filler. For the full 10-minute run start to extraction, watch the original video.