Far Far West Frost-Only Challenge: Can Ice Spells Really Beat Nightmare?

A frost-only build for Far Far West that clears the Saloon on Nightmare using Cube, Glaze, and Blizzard, proving the Frostburn ice tree wins on defense and shields rather than damage.
Far Far West Frost-Only Challenge: Can Ice Spells Really Beat Nightmare?
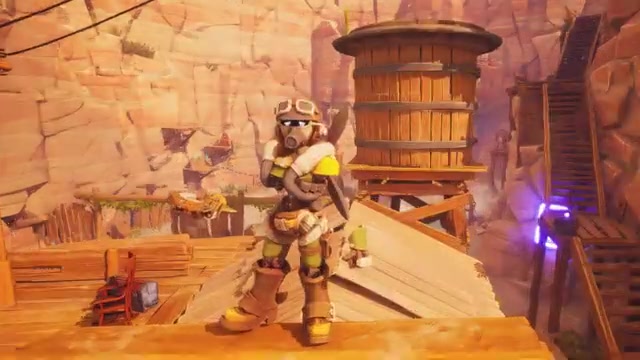
The Frostburn update gave Far Far West a brand-new element, and on paper Frost is the odd one out. While Fire, Shock, and Acid are built to melt health bars, Frost barely does damage at all. It is an element built around crowd control and defense. So naturally, someone decided to throw that logic out the window and try to beat the game using only frost spells.
The result is one of the more entertaining self-imposed challenges to come out of the Frostburn patch: a run that starts on Hard "baby mode," survives a genuinely cursed Very Hard attempt, and ends with a Nightmare Saloon clear. Along the way it turns into a surprisingly useful lesson in how overpowered Frost's defensive toolkit actually is.
The Frost-Only Loadout
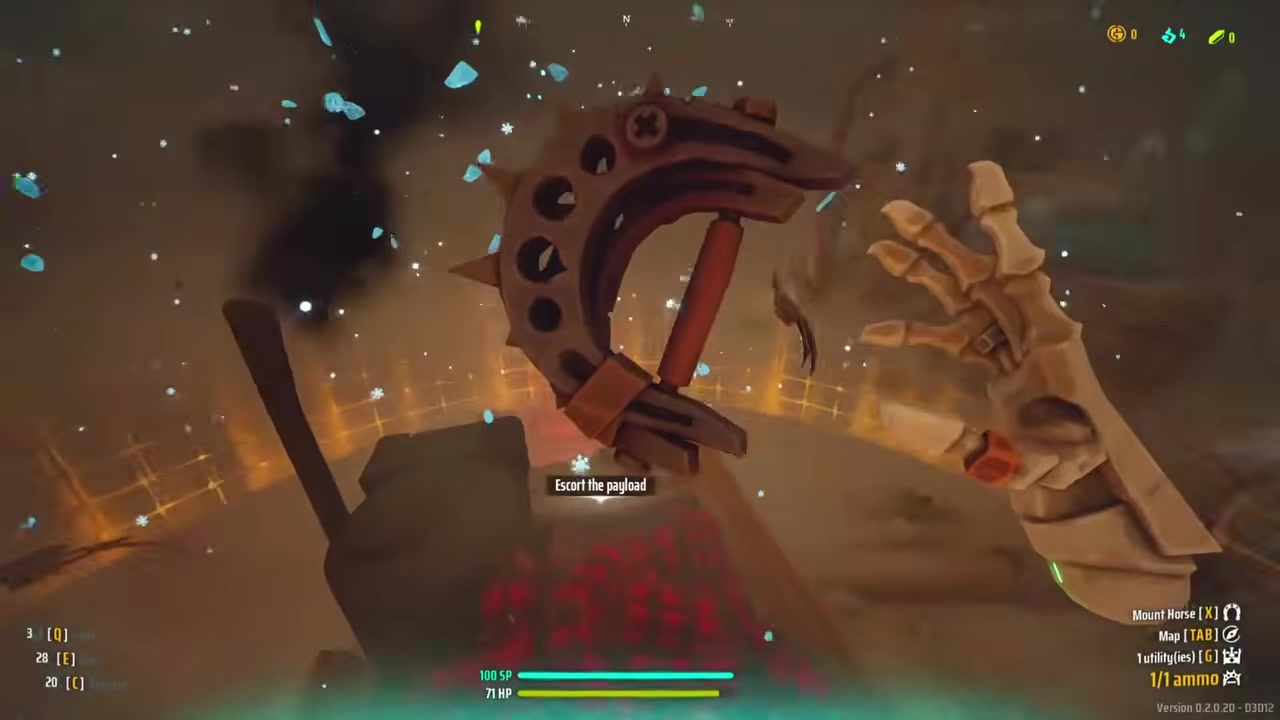
When you commit to frost only, your spell choices basically make themselves. There are only three spells worth running:
| Spell | Role | Notes |
|---|---|---|
| Cube | Defense / survivability | Grants a shield and makes you invulnerable while active. The backbone of the entire build. |
| Glaze | Damage | ~25 damage per hit on a 40-second cooldown. One of only two frost spells that deal damage on their own. |
| Blizzard | AoE damage over time | A slow DoT in the area around you on a 2-minute cooldown. |
Glaze and Blizzard are the only two spells in the Frost tree that can actually deal damage by themselves, so they are locked in. Breeze and Bridge are both solid in their own right, but nothing touches the sheer utility and survivability you get out of Cube.

The obvious problem is damage. Glaze only hits for 25, and Blizzard's damage trickles out slowly. Unless you want your runs to last a gazillion years, you have to lean hard into cooldown reduction.
The Joker Build: All-In on Cooldown Reduction
This is where the build gets spicy. Normally stacking every joker into one spell type means skipping your spell combos, which most players would rather not do. But frost only changes the math completely.
| Joker | Effect | Trade-off |
|---|---|---|
| Frost Mastery | -30% frost spell cooldown | 800 souls, no downside |
| West Wizard | -30% spell cooldown | Costs a big chunk of HP |
| Castaway | -3 seconds flat cooldown per spell cast | New Frostburn joker |
| Great Wall | Damage reduction while shielded | Taken over Apprentice's extra 10% CDR |

The Mastery joker is the star here. For a challenge that lives and dies by how often you can recast Cube, a flat 30% reduction with no downside is an easy call. Stacking West Wizard on top gets you another 30%, and Castaway shaves three seconds off everything else every time you cast. Great Wall over Apprentice is a small concession: you give up a little more cooldown reduction for damage reduction while shielded, and since you are always shielded, it pays off.
Why It Actually Works: Cube and Shields
Here is the thing nobody expects from a "no damage" build: you basically stop taking damage. With this much cooldown reduction, you get close to 100% uptime on Cube. The moment your shield starts to decay, you recast Cube to refresh the timer and top off your shield bar at the same time.
Pair that permanent shield with the burst shielding you get from Glaze and Blizzard, and most enemies never even reach your health bar. Cube's invulnerability window is also a genuine panic button, which matters a lot once snipers enter the picture.
The One Boss Frost Can Solo: The Saloon
There is exactly one boss in the game the frost tree can reasonably handle on its own, and it is the Saloon. Every other element has lingering DoTs or strong upfront damage. Frost has neither. What it does have is good AoE, and the Saloon happens to be extremely vulnerable to it.
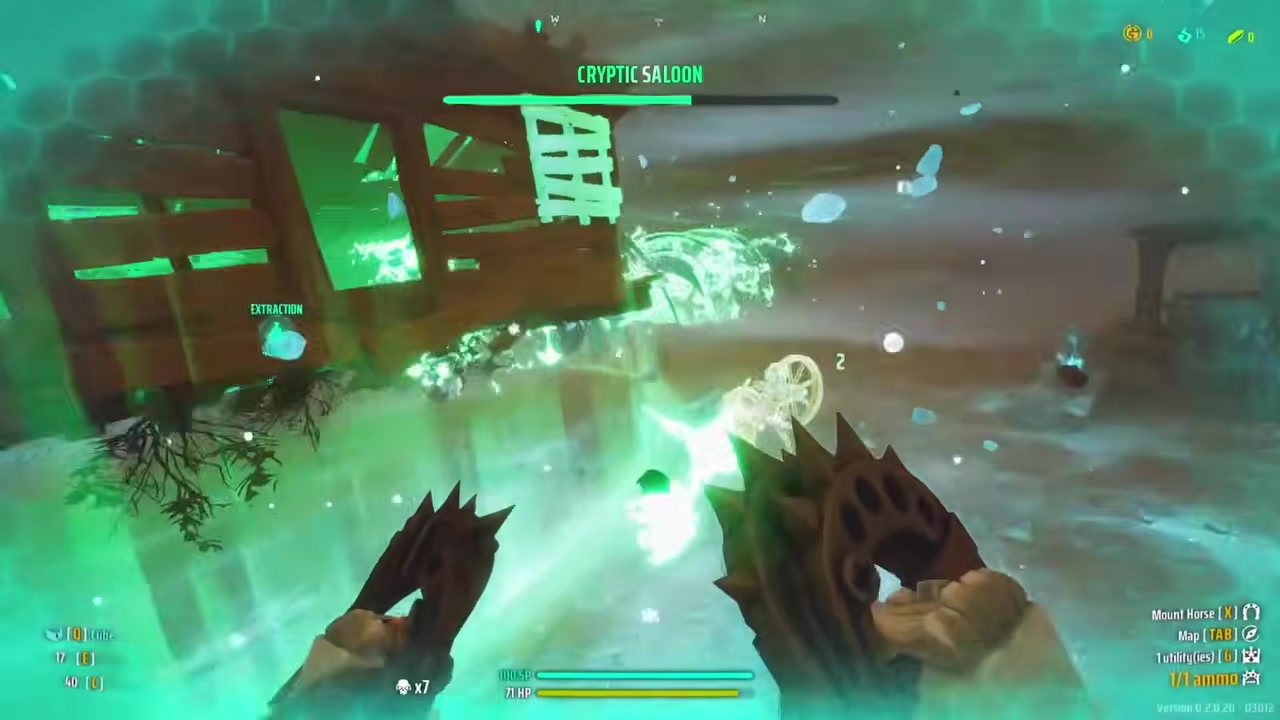
In the current version of the fight, you only damage the boss by breaking the panels on its sides, and each panel has only about 15 HP. Glaze one-shots them and Blizzard shreds them fast. Thanks to the AoE, a single cast can nuke multiple panels at once and chunk the boss's health in big bites, ending phase one quickly.
Phase two is where frost shows its limits. The spirit that spawns is squishy, but with zero single-target damage it takes a few patient minutes to put down before extraction opens.
Hard Mode: Baby Mode
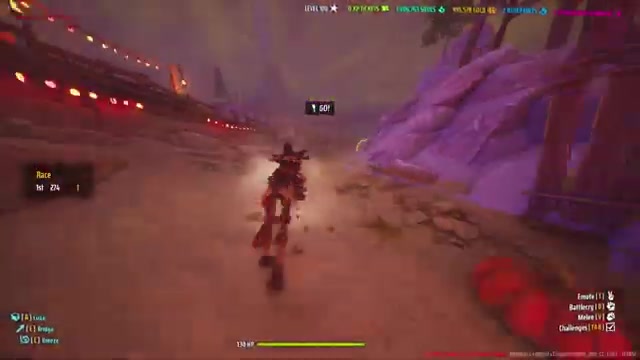
The first run was a Desert payload mission on Hard, and it was never in doubt. On low difficulty, enemies barely tickle you and the spawns are too sparse to overwhelm anyone sitting behind permanent shields. The strategy was simply to bum-rush every objective, because damage jokers do not affect spells anyway.
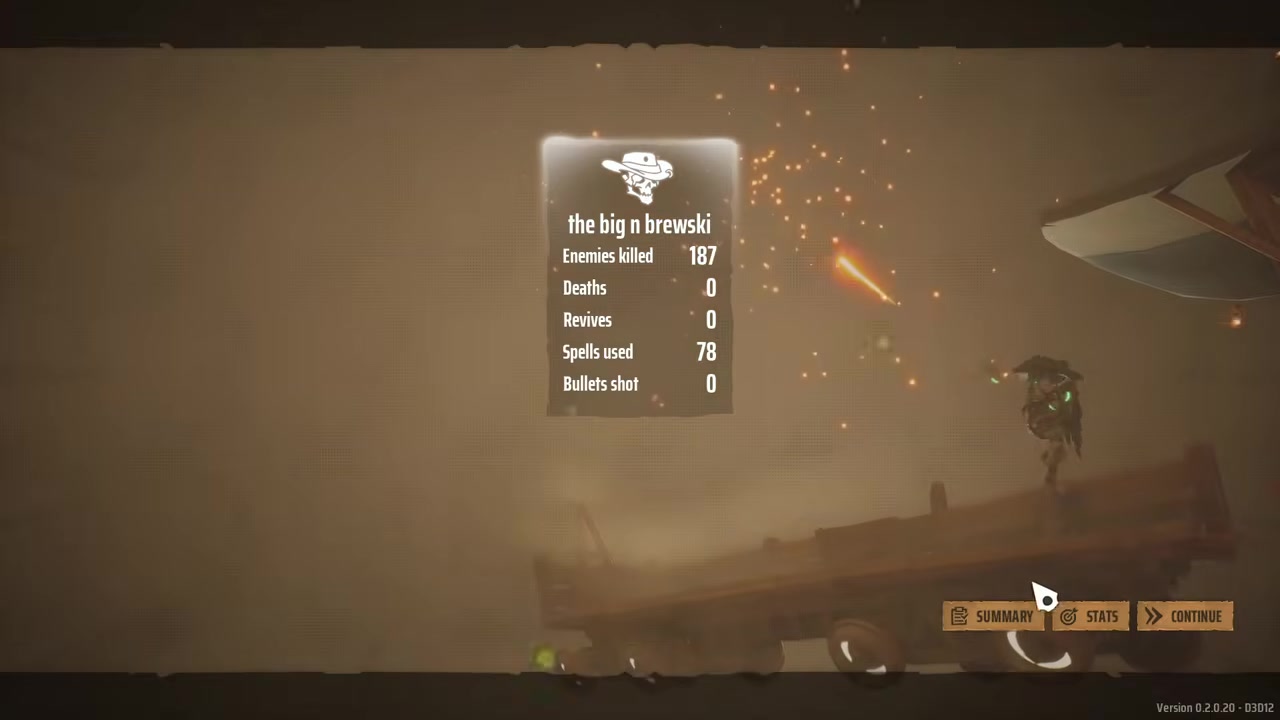
Final tally: 187 enemies killed with only 78 casts, zero deaths, and (aside from one accidental knuckle punch) a pure frost clear. Baby mode, cleared.
Very Hard: Dead Eyes and Lich Hell
Then the Canyon on Very Hard introduced the bane of every spell build: Dead Eyes. These flying sniper skeletons almost never miss, and the only ways to deal with them are stunning them with damage, breaking line of sight, or killing them outright. Fun fact: frost spells cannot stun Dead Eyes, and most of the time they cannot even reach them.
The counterplay is Cube. A well-timed Cube completely negates Dead Eye damage while you reposition, and between that, your massive shield pool, and the still-manageable incoming damage on this difficulty, you can mostly face-tank your way through.
Then a Horseman got triggered.
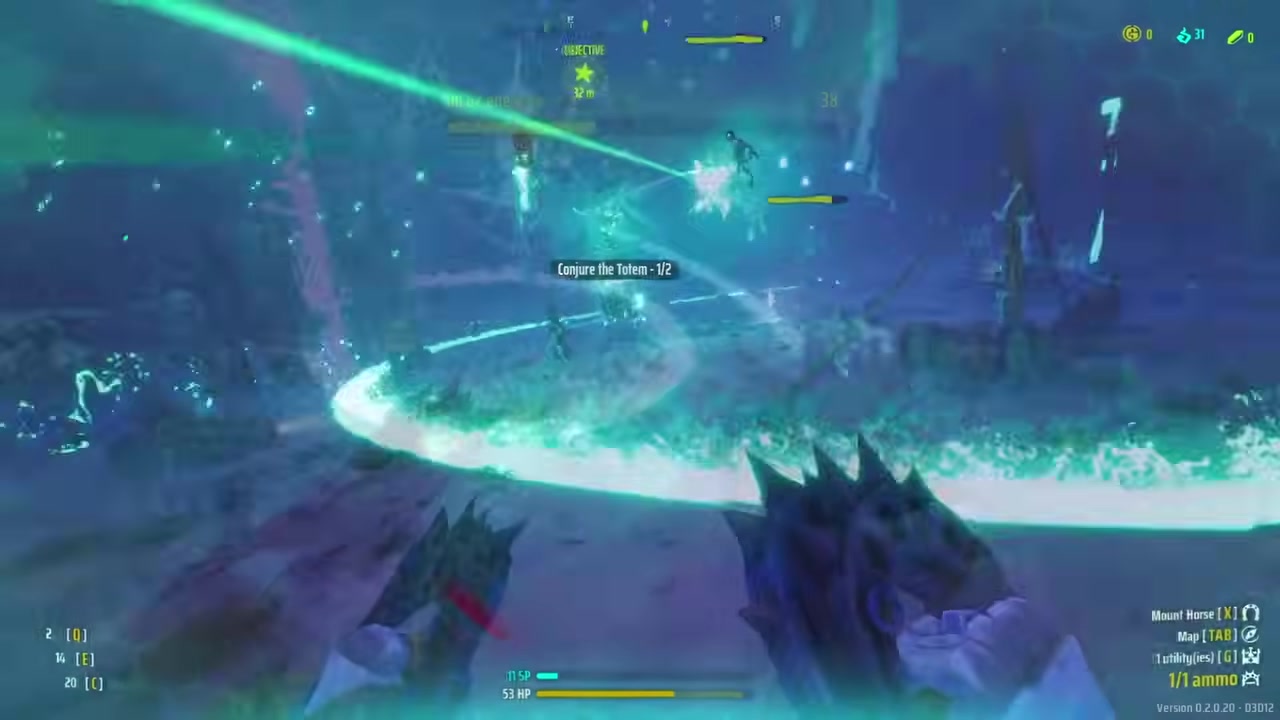
Horsemen summon additional hordes, including liches. On top of a 1,200 HP miniboss, you are suddenly fighting a constant stream of 260-HP liches while your damage output is, generously, a toddler throwing half-melted ice cubes. The screen became borderline incomprehensible, and yet the shields held. After a lot of brute force and an insane amount of luck, enough chaff died to trigger a totem wave clear that wiped the Horseman, the lich army, and the nearby Dead Eyes all at once.
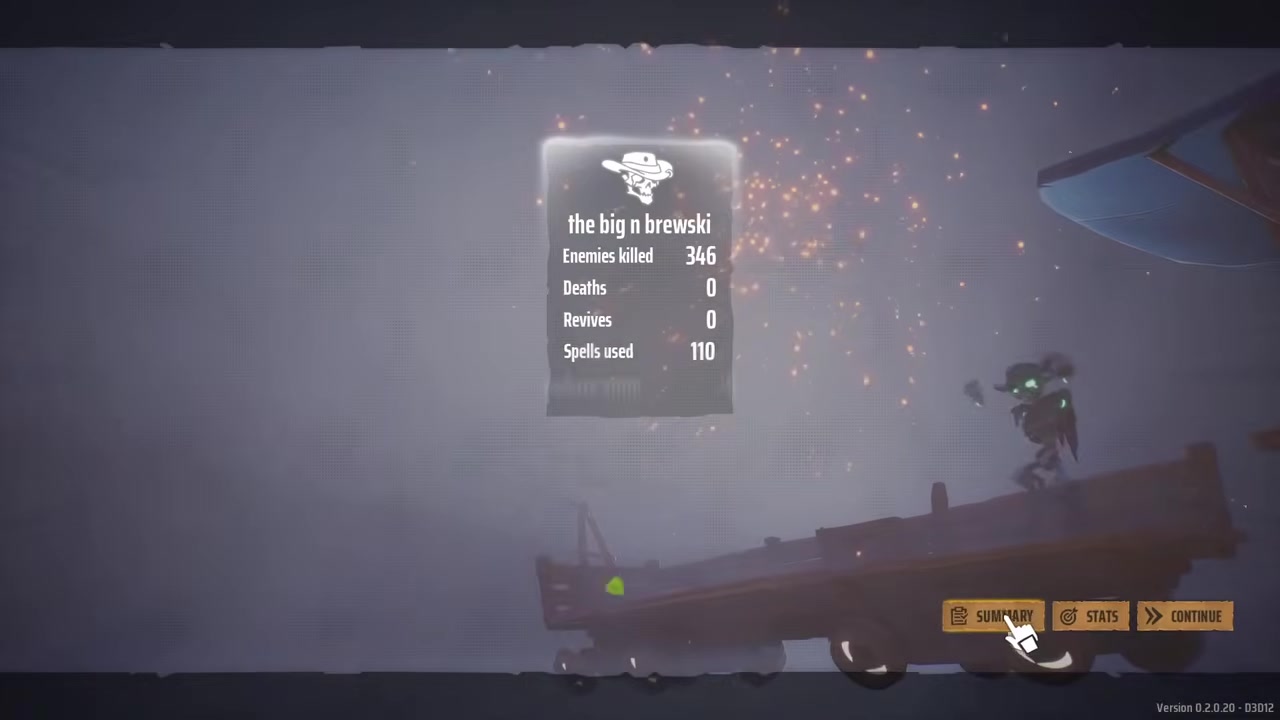
Second run through the totem was much calmer, and the Saloon fell again. Final count: 346 enemies with 110 spells cast, still zero deaths.
Nightmare: Bending the Rules
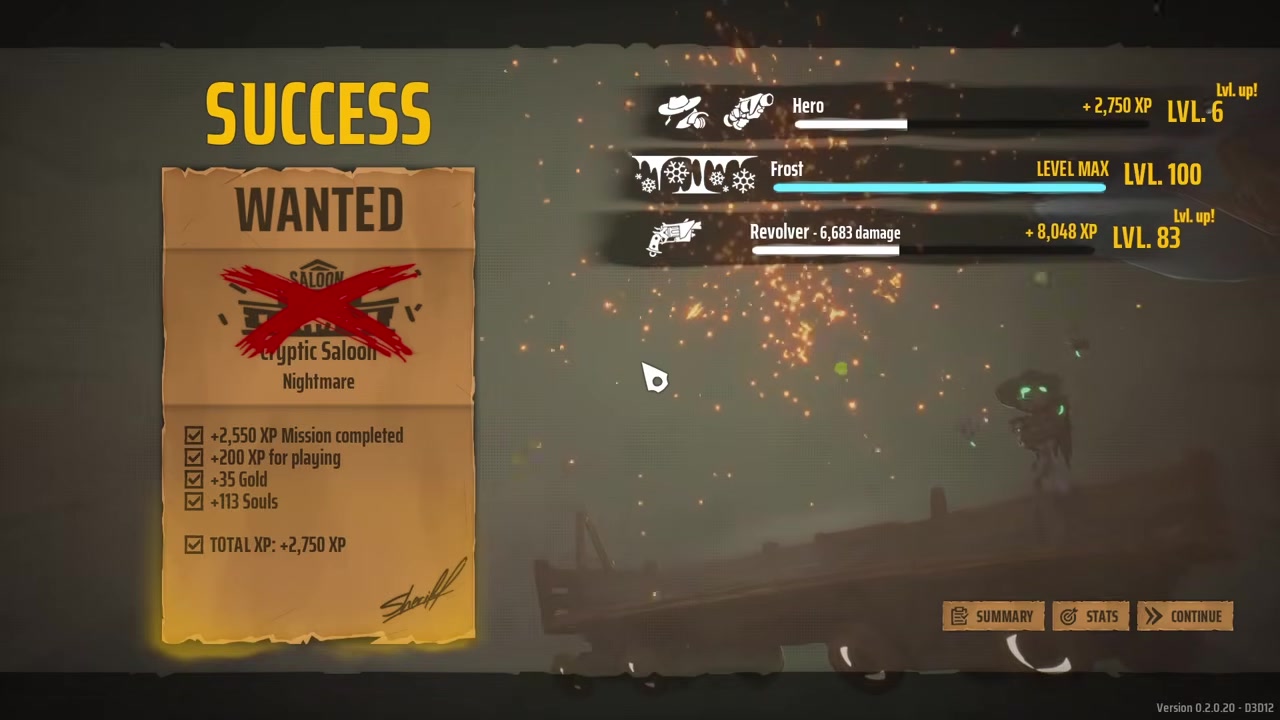
Pure frost on Nightmare is technically possible with perfect map RNG and flawless play, but it is brutally inconsistent and expensive to reroll for. With a crisp 320 gold to his name, the honest call was made: allow very limited revolver use on Nightmare.
The gun is only for the things frost genuinely cannot answer — Dead Eyes (which you often cannot hit otherwise), Horsemen, liches, and elites. If a Horseman lingers, you get buried in liches, so those get shot on sight.
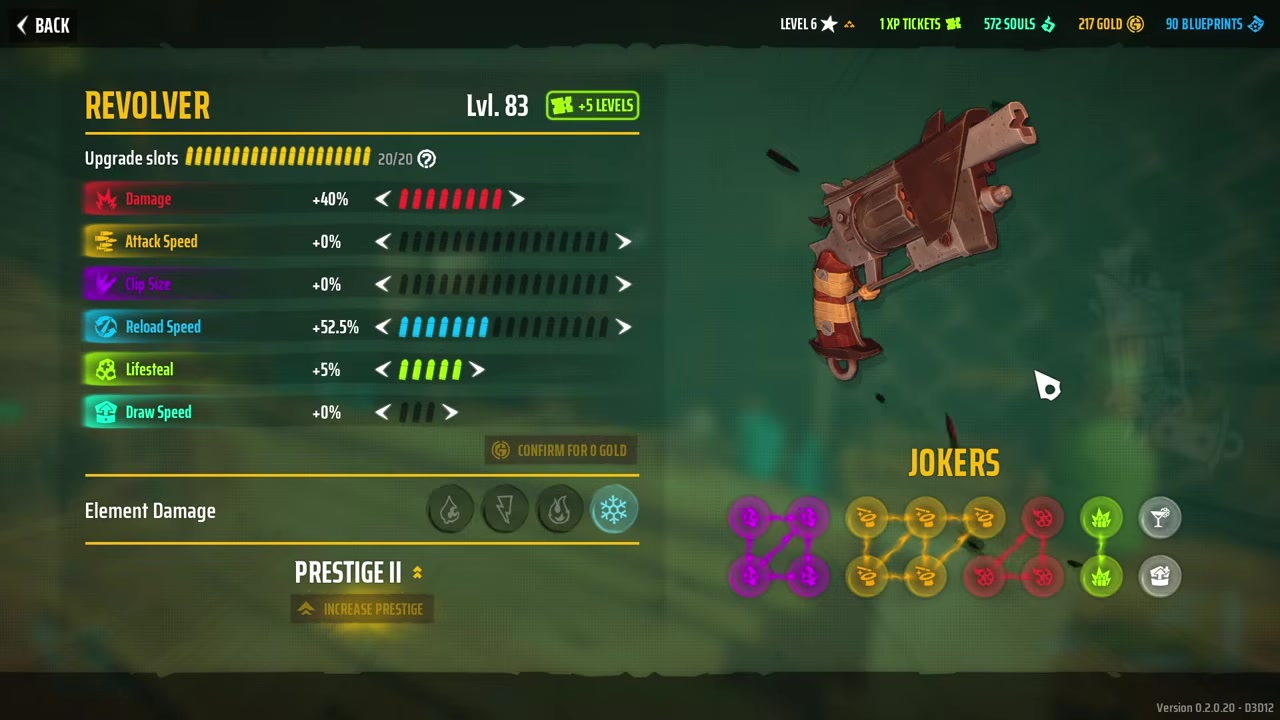
The revolver build is simple, but there is one clever detail: Clutch is the only way to access element combos without finding jokers mid-match. The explosive rounds are not frost damage, but the heat proc from Clutch instantly triggers the Frost + Heat combo, adding an extra 25 damage on the last two shots of each mag. Fanning Ace also got equipped, and was then used a grand total of about once.
The Final Run: Area 41
The last run went down on Area 41. The opening totem wave was stressful with five Dead Eyes targeting from every angle, but good movement and a generous amount of enemy friendly fire meant the second wave nearly cleared itself.
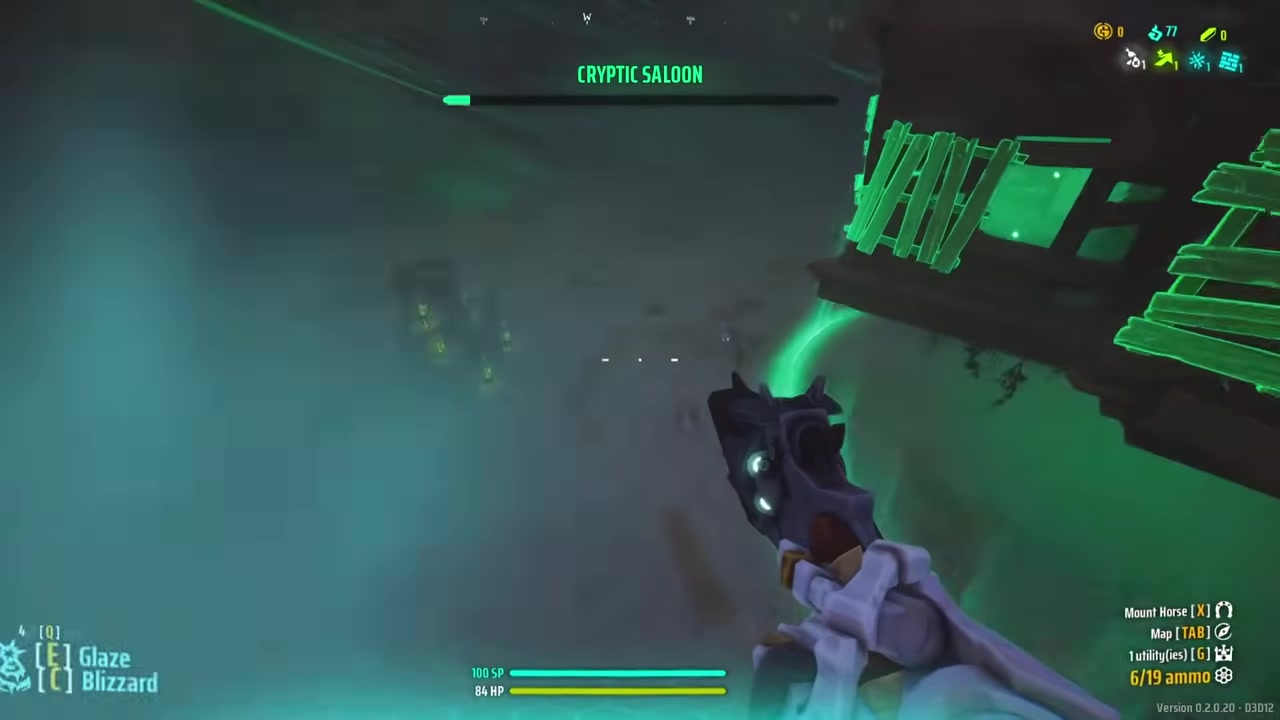
With the Dead Eyes finally manageable, the last Saloon fight went back to the comfortable rhythm: stand on the roof, wait for cooldowns, cycle spells. Enemy volume during bosses is low enough even on Nightmare that getting swarmed was never a real risk, and anything threatening died after a couple of cycles. Four minutes later, the Saloon spirit was put to rest for the last time.
The Numbers
Across the challenge, the difficulty-by-difficulty results tell the story of a build carried entirely by defense:
| Difficulty | Enemies Killed | Spells Cast | Deaths | Notes |
|---|---|---|---|---|
| Hard | 187 | 78 | 0 | Pure frost, one stray punch |
| Very Hard | 346 | 110 | 0 | Totem wave clear saved the run |
| Nightmare | 489 | 136 | 0 | ~6,700 revolver damage, 300+ rounds for Dead Eyes/elites |
Verdict: Frost Is Defense, Not Damage
Frost spells are genuinely lacking in damage, and nothing about this run hides that. But they more than make up for it in utility. Thinking back to that cursed Very Hard totem, any other spell tree probably would not have survived it. The ability to max out your shields in three casts and keep them there with a bit of careful movement makes you feel like an absolute tank.
If you want to top damage charts, Frost is not your tree. If you want to walk through hordes that should kill you and come out the other side without a scratch, its defensive ceiling is hard to overstate.
This guide is based on a frost-only challenge run by the big n brewski. For the full walkthrough and all the chaos in motion, check the