Far Far West Beginner Guide — 10 Tips Before Your First Bounty
New to Far Far West? Learn the 10 things veterans wish they knew on day one. Town NPCs, loadout basics, extraction tips, and how to not die.
Welcome to the Frontier, Cowboy
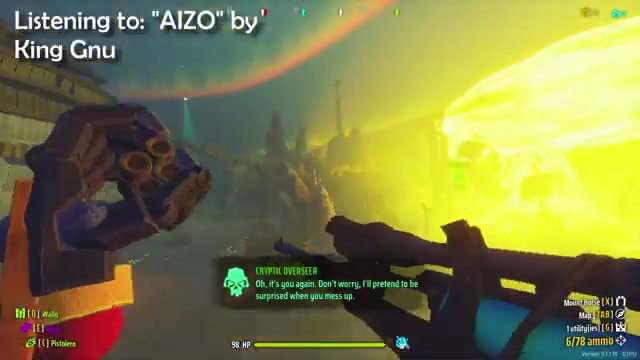
Far Far West drops you into a chaotic co-op extraction shooter where robot cowboys hunt bounties across a supernatural Wild West. If you are coming from games like Helldivers 2 or Deep Rock Galactic, the loop will feel familiar — but the spell-slinging twist changes everything.
This guide covers the 10 most important things you need to know before your first bounty run.
The Town Hub
When you first load in, you spawn in the town hub. Three NPCs matter immediately:
- The Sheriff — Pick up bounty contracts here. Start with Tier 1 bounties (marked green). These have lower enemy density and forgiving boss mechanics.
- The Gunsmith — Buy and upgrade weapons. You start with a basic revolver and one sidearm slot. Spend your first gold on unlocking a second primary.
- The Spellbinder — Unlock and level spell trees. You get one free spell slot from the start. Pick Pyro or Electric for your first run — both deal reliable damage without complex setups.
Picking Your First Loadout
Your loadout has four slots:
- Primary Weapon — Your main damage dealer. Revolvers are reliable for beginners. Lever-action rifles work if you prefer range.
- Sidearm — A backup for when you reload or need burst damage. Sawed-off shotguns are forgiving at close range.
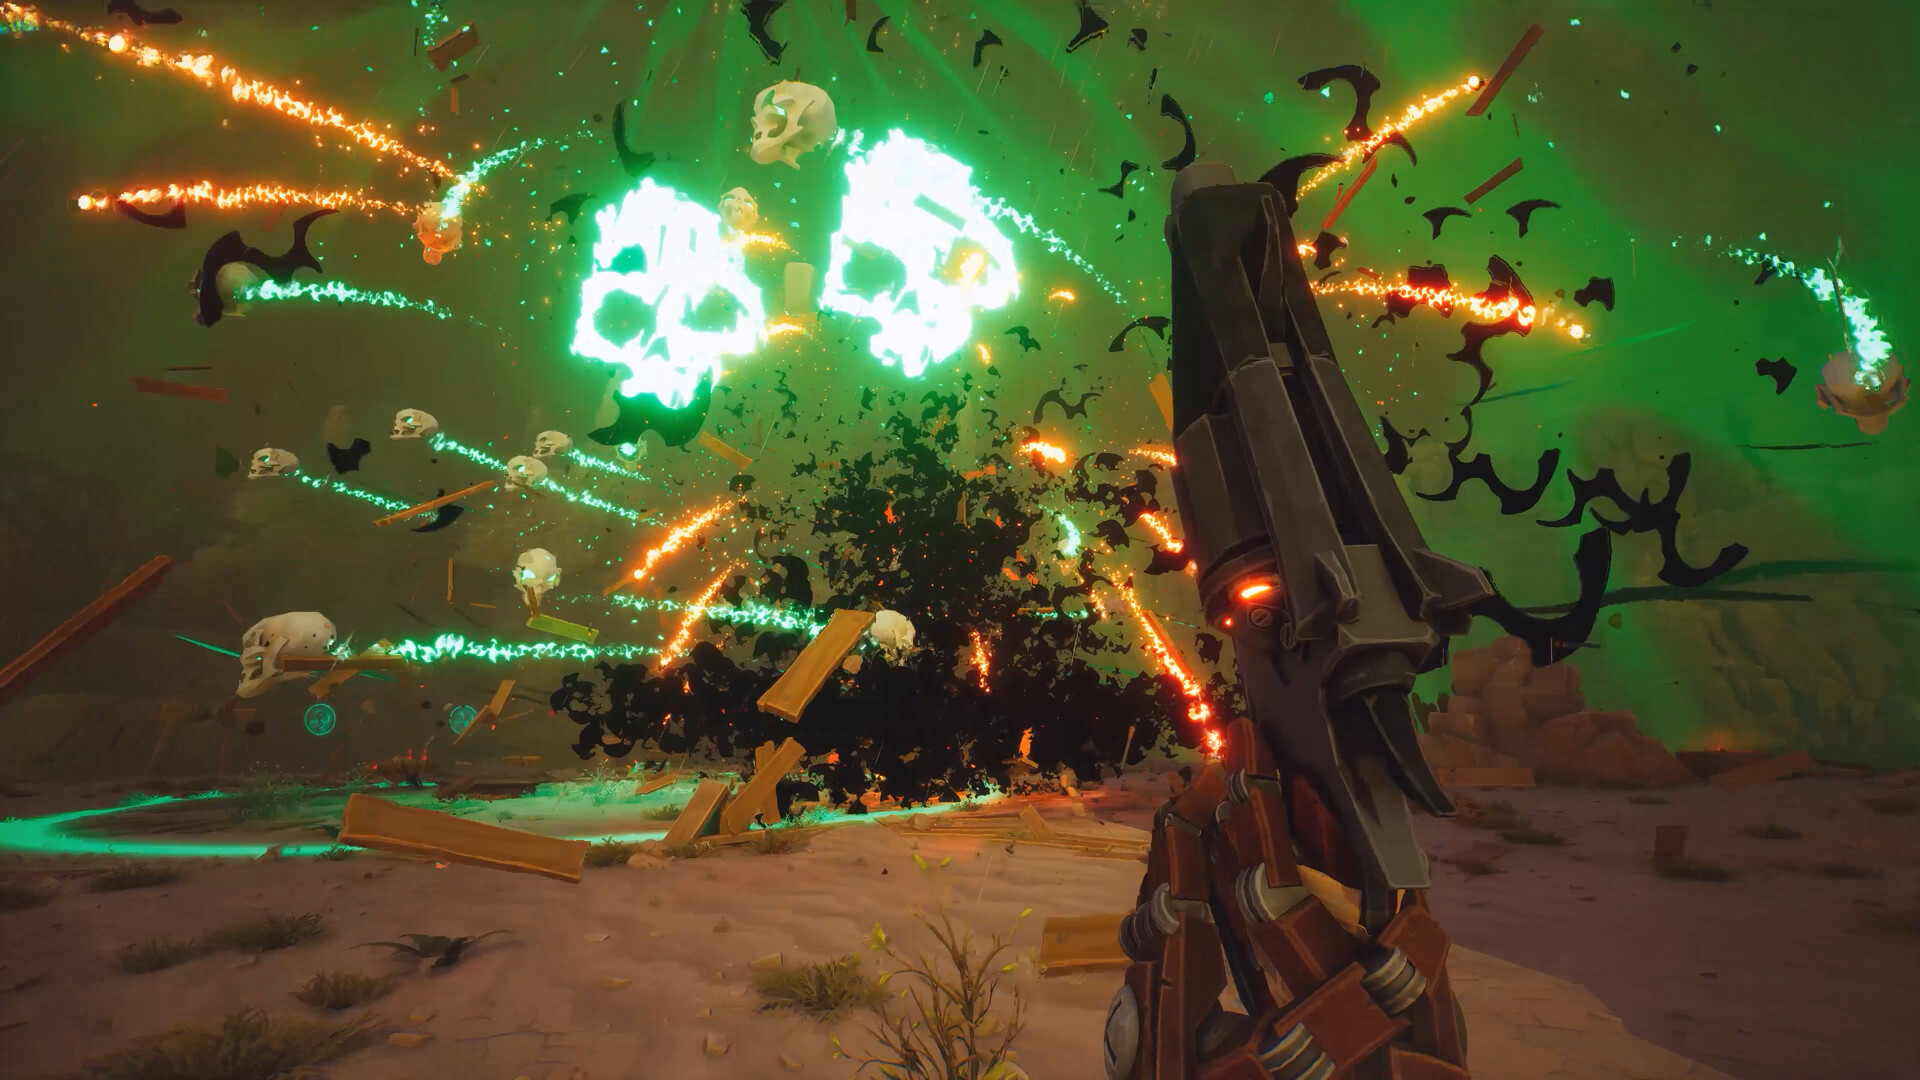
- Spell — One active spell. Pyro Fireball is the safest starter — it deals area damage and triggers reactions with Acid.
- Joker Card — One passive perk. Equip "Steady Hand" for reduced recoil or "Quick Draw" for faster weapon swap.
Mission Flow
Every bounty follows the same structure:
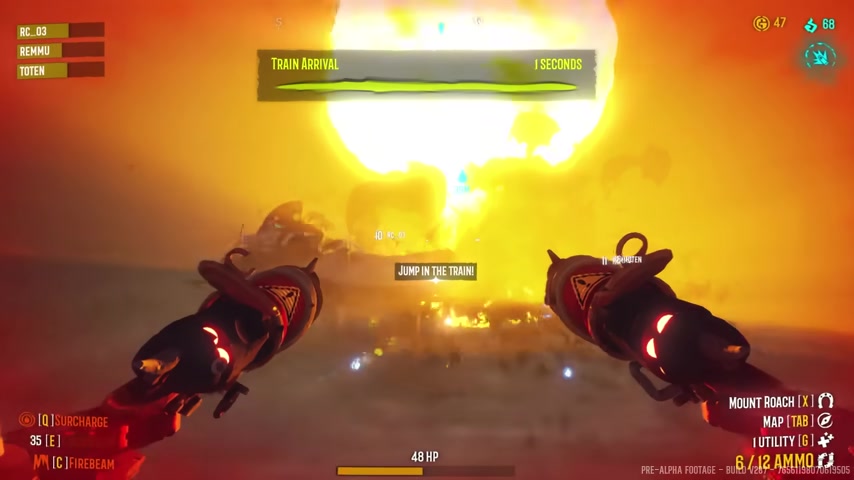
- Drop In — You land on the map with your squad (or solo). A compass marker shows your first objective.
- Complete Objectives — These are randomized: destroy nests, collect artifacts, activate pylons, or clear enemy waves. Complete all side objectives before triggering the boss for maximum XP and gold.
- Boss Fight — Once objectives are done, the boss spawns. Each region has a unique boss with distinct attack patterns. Stay mobile and focus weak points (usually glowing areas).
- Extract — After the boss dies, an extraction point activates. Reach it within the timer. Enemies intensify during extraction, so save a spell charge for the run out.

10 Tips Veterans Wish They Knew on Day One
1. Level One Weapon, Not Many
Fragments are scarce early on. A rank 5 weapon deals roughly 3x the damage of a rank 1. Focus all fragments on your primary until it hits rank 5.
2. Cast Spells Between Reloads
Your spell has no ammo — use it while your gun recharges. This keeps your DPS constant instead of having dead time during reloads.
3. Clear Side Objectives First
They give bonus XP and gold, and the boss does not spawn until you trigger it manually. More objectives = more rewards per run.
4. Learn One Spell Combo
Acid Pool + Pyro Fireball = Explosion. This single combo will carry you through Tier 1-3. Master it before learning others.
5. Stick With Your Team
In co-op, revives are fast but only work within proximity. Splitting up is a death sentence on higher difficulties. Stay within 15m of at least one teammate.
6. Keep Moving
Standing still gets you killed. Enemies swarm from multiple directions. Strafe while shooting, use cover between spell casts.
7. Pre-spin the Minigun
If you use the Venom Gatling, hold aim without firing to spin up before entering a room. You will have full fire rate the instant enemies appear.
8. Check Region Resistances
Each map has enemies resistant to specific damage types. Check the bounty description before picking your loadout. Bringing the wrong element halves your damage.
9. Save Gold for the Second Spell Slot
The second spell slot costs 500 gold from the Spellbinder. This is your highest priority purchase — two spells enable combos that double your damage output.
10. Extract Early if Overwhelmed
There is no shame in extracting before the boss on higher difficulties. You keep all loot collected during the run. A failed extraction loses everything.

Recommended Progression Path
| Stage | Goal | Priority Spend |
|---|---|---|
| First 5 runs | Learn mission flow, unlock Tier 2 | Primary weapon to rank 3 |
| Runs 5-15 | Unlock second spell slot, try combos | 500g on spell slot, then fragments |
| Runs 15-30 | Push primary to rank 5, attempt Tier 3 | All fragments on primary |
| Runs 30+ | Experiment with builds, farm Joker Cards | Second weapon to rank 3 |
What to Do After Your First Bounty
Once you extract successfully:
- Return to the Gunsmith — spend fragments to level your primary
- Visit the Spellbinder — unlock a second spell slot (costs 500 gold)
- Check the Sheriff for Tier 2 bounties — these unlock new maps
- Experiment with spell combos — try pairing Acid + Pyro for explosive reactions
Common Beginner Mistakes
- Spreading fragments across all weapons — Focus on one. A maxed weapon is exponentially better.
- Ignoring the Joker Card slot — Even a Common card like Steady Hand makes a noticeable difference.
- Triggering the boss too early — Clear all side objectives first for maximum rewards.
- Not using cover — The game has a cover system. Use walls and rocks to break line of sight during reloads.
- Forgetting to extract — The timer is real. Start moving to extraction with 30 seconds to spare.
You are now ready for the frontier. Good luck, cowboy.