Far Far West Tips & Tricks: 14 Hidden Mechanics the Game Never Explains
Far Far West is full of hidden mechanics it never explains. Here are 14 tips and tricks - from XP farming and prestige to ghost houses, storms, gold runs, and movement tech - to make every run smoother.
Far Far West is packed with hidden mechanics that it never really explains. You just kind of have to stumble into them. Stuff like spell synergies that let you spin up a massive fire tornado, map tricks that get you to places you shouldn't be, and a whole stack of little systems quietly working in the background. After a lot of runs across the creator preview, the playtest, and full release, here are the tips and tricks that actually matter.
1. Character XP Is the One You Can't Afford to Lose
There are three XP types - character, weapon, and spell - and they do not work the same way.
Character XP is the picky one. You only earn it by completing side objectives and full missions, then extracting. If you die and fail the mission, you basically gain nothing. You get 100 XP just for playing and 100 XP per side objective, but you lose half of your total if you wipe. So two side objectives plus the play bonus is 300 XP, then a wipe knocks it down to 150. That's nothing compared to actually winning.
The takeaway: extracting is not optional. If you want to push your character level, you have to win the game.
2. Weapon and Spell XP Is Pure Damage
Weapon and spell XP don't care about winning at all - they're tied to damage dealt, and you earn the same amount on easy as you do on nightmare.
Here's the exact math. Your first kill in a game immediately gives you 200 weapon XP. After that, every point of damage on primaries is 0.4 XP, and secondaries are 0.6 XP per damage. So if you deal 100 damage with a primary, you walk away with about 240 XP - 200 for the first use, 40 for the damage.
Two things worth knowing:
- Overdamage doesn't count. Hit a 1-HP enemy for 100 damage and only that 1 point registers at the end screen.
- Winning gives no bonus weapon XP. It's purely damage, so farm accordingly.
The best farm is to play at least on hard difficulty, purposely trigger storms, and mow down as many enemies as you can. Hard is the sweet spot - enough enemies to farm comfortably without the sweat of nightmare. Just bring plenty of heals and ammo.
3. Every Level Is Exactly 1,000 XP
Doesn't matter if you're level 20 or level 80 - every single level costs 1,000 XP, for character, weapons, and spells alike. So when a mission dangles 1,400 XP at you, that's a full level and a half in one go.
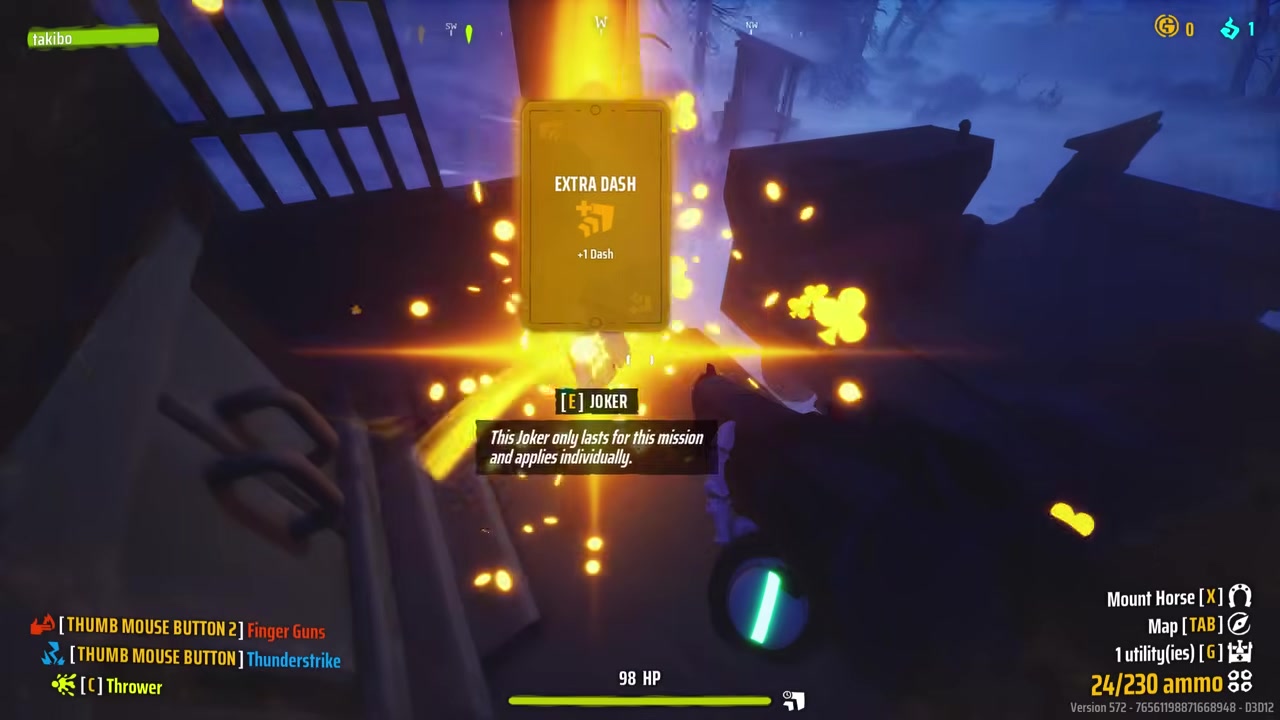
4. Prestige Doesn't Reset Anything Important
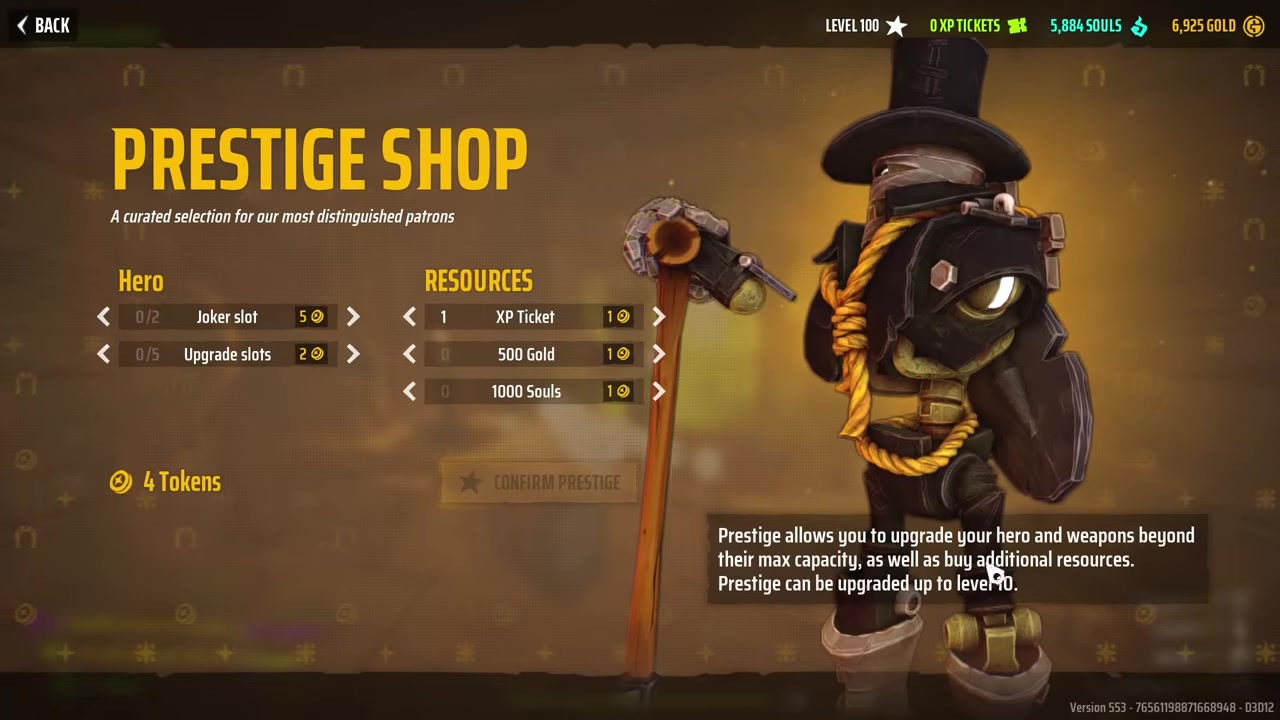
At level 100 your weapon or character caps out and the prestige button unlocks. Unlike most games, prestige in Far Far West does not wipe your weapon stats or joker unlocks. You keep everything. It just resets the level number.
Each prestige gives you 5 prestige points to spend on:
| Option | Cost | Worth it? |
|---|---|---|
| Extra joker slot | All 5 points | Yes - see below |
| Upgrade points | 2 points each | Situational |
| Souls / gold / XP tickets | Varies | Meh |
That extra joker slot sounds boring since you already get around 14, but it pushes you to 15 total, which crosses a breaking point that lets you run three legendary or unique-tier jokers together. That's a big deal.
XP tickets instantly bump a level by 3. Underwhelming overall, but best spent on character XP since that's the slowest to grind.
5. Graves Are Free Souls in Every Map
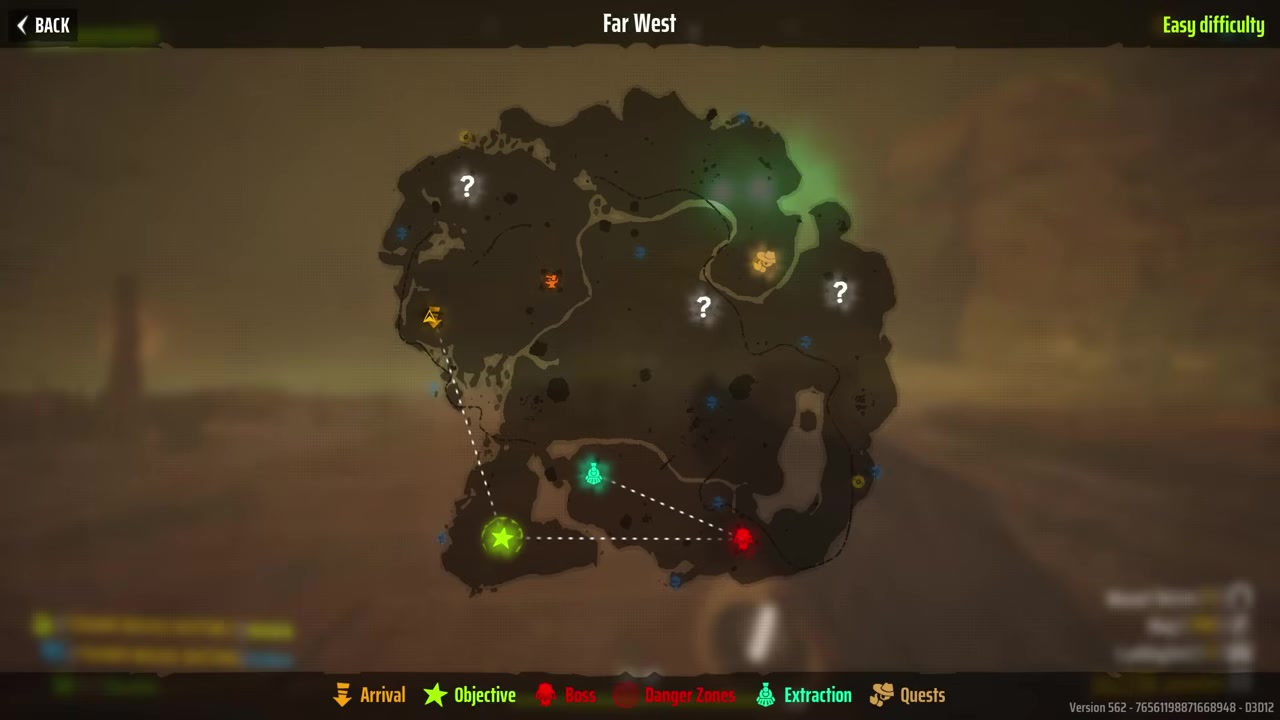
Every map has 10 interactable graves scattered around, and you do not have to grab them in one run - collect them slowly across multiple games. Find all 10 in a map and you complete a challenge worth 1,000 souls, which you spend on joker cards.
The yellow circles on the map are disc fragments. Complete those and you unlock an emote plus the ability to play that music back at the saloon. Nice if you're into cosmetics.
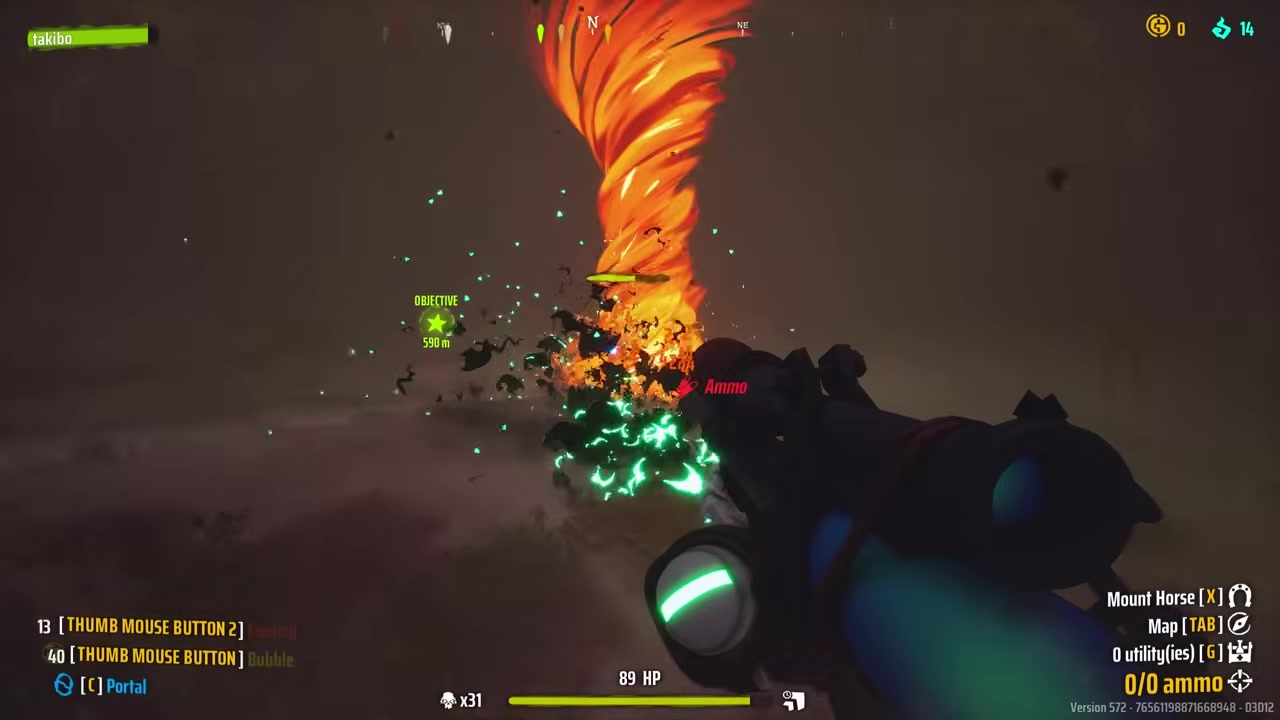
6. Spells Synergize - and Order Matters
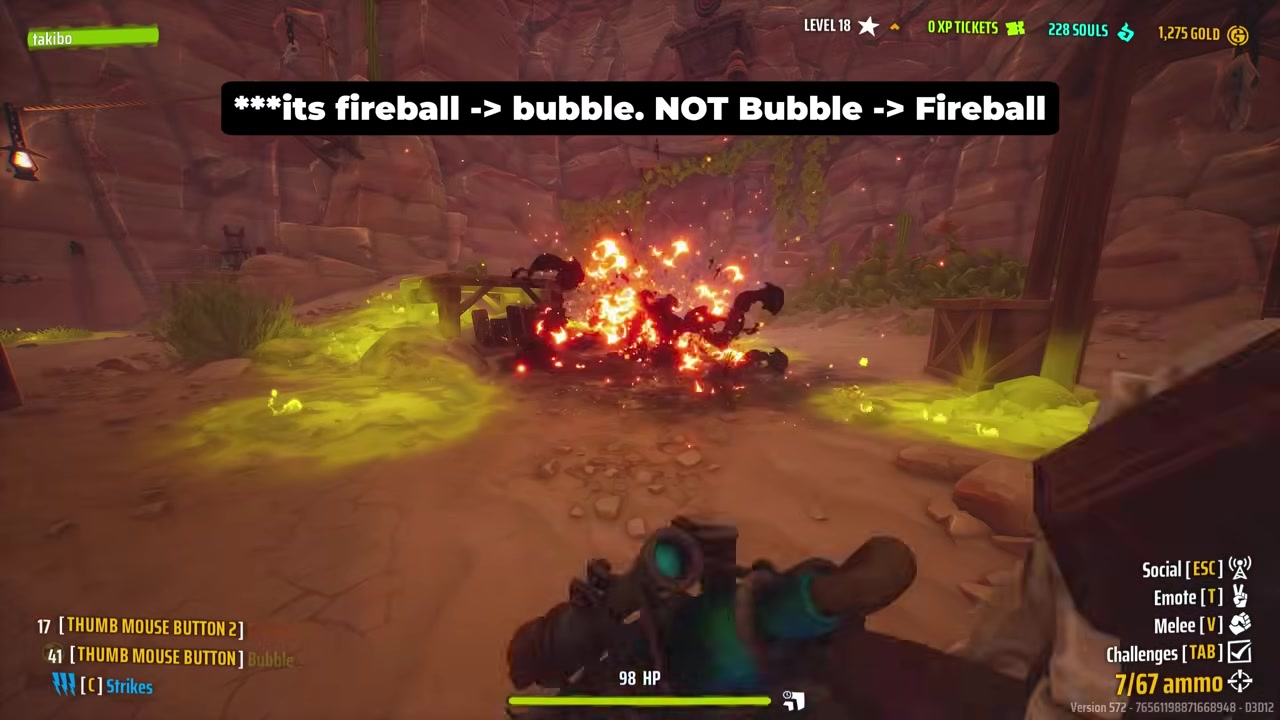
This is the big one the game stays quiet about. Spells combo with each other in dozens of ways. The classic example: drop a bubble spell, then throw a fireball on top of it, and you get a massive fire tornado that deals a ton of damage.
There are way too many combinations to list, but the key tip is that the order you cast them in changes the result. Take your favorites into the saloon firing range and just experiment - you'll find combos that carry entire runs.
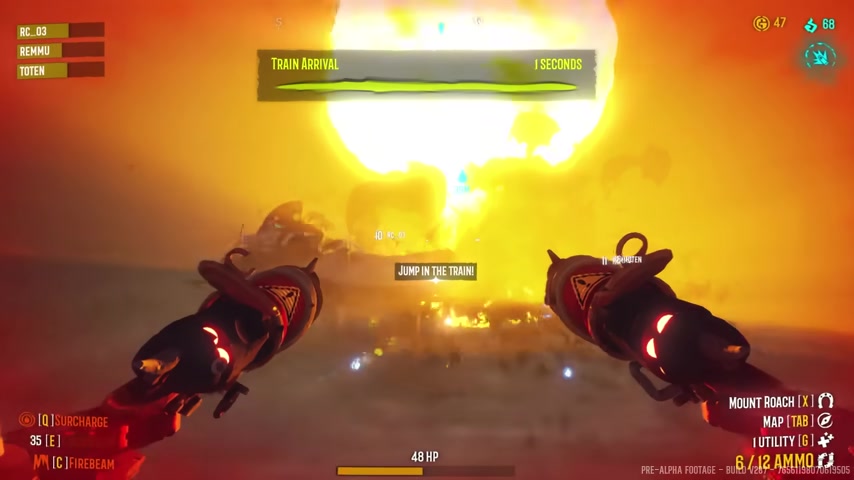
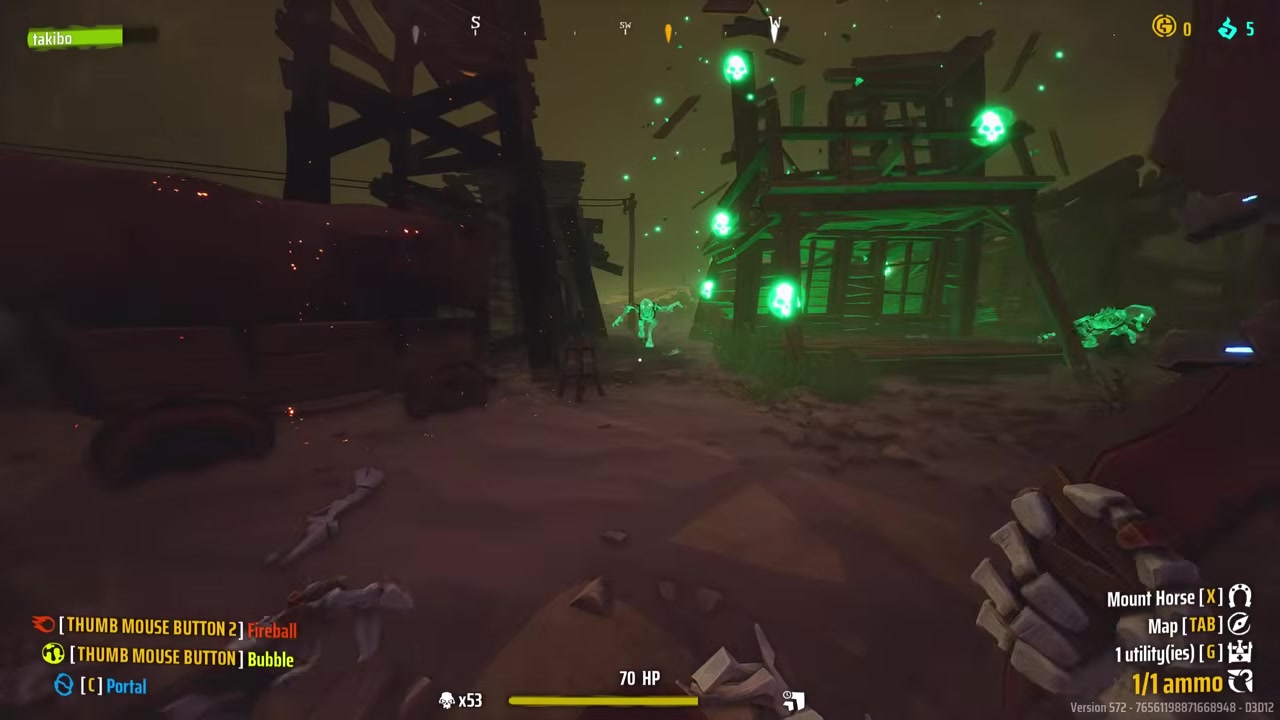
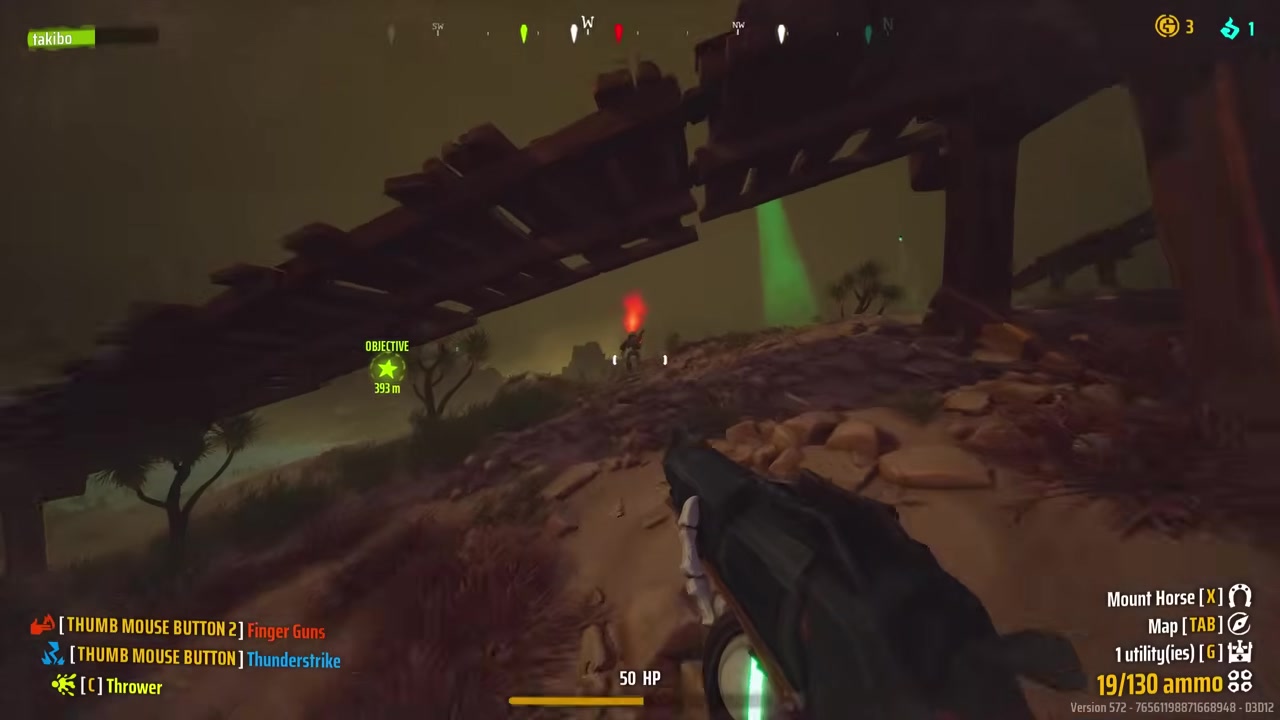
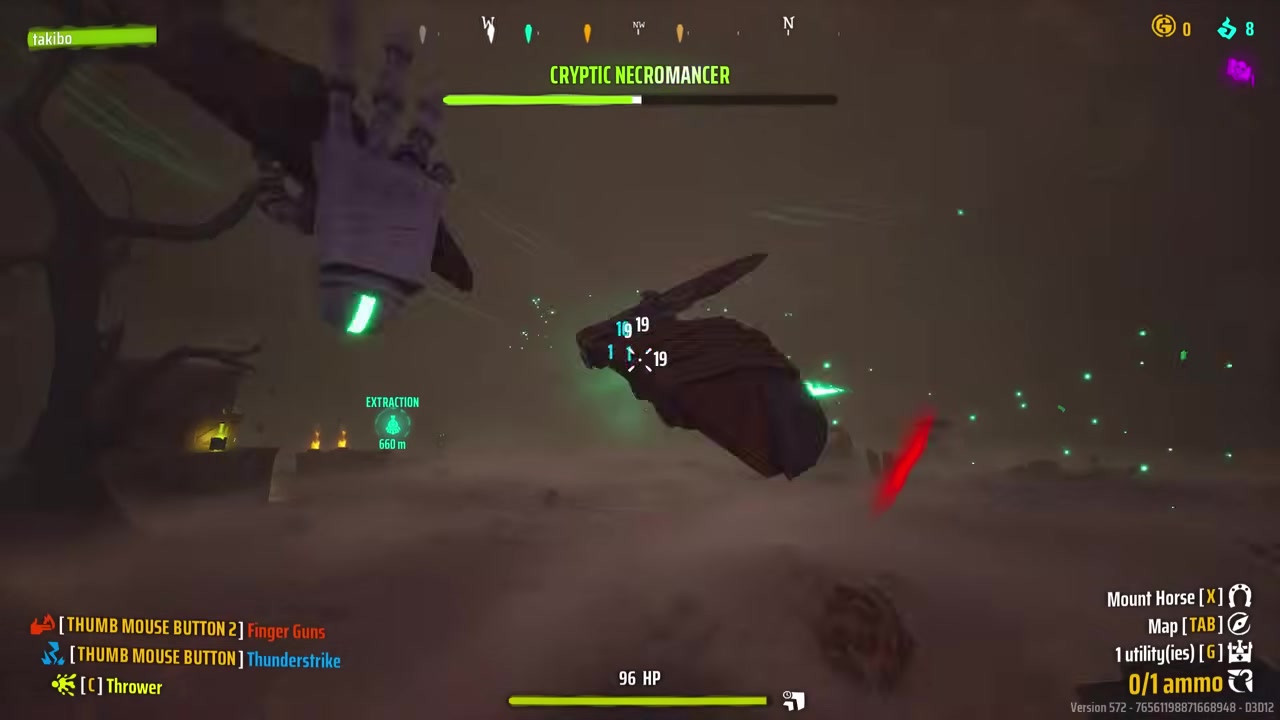
7. Understand Storms (and Trigger Them on Purpose)
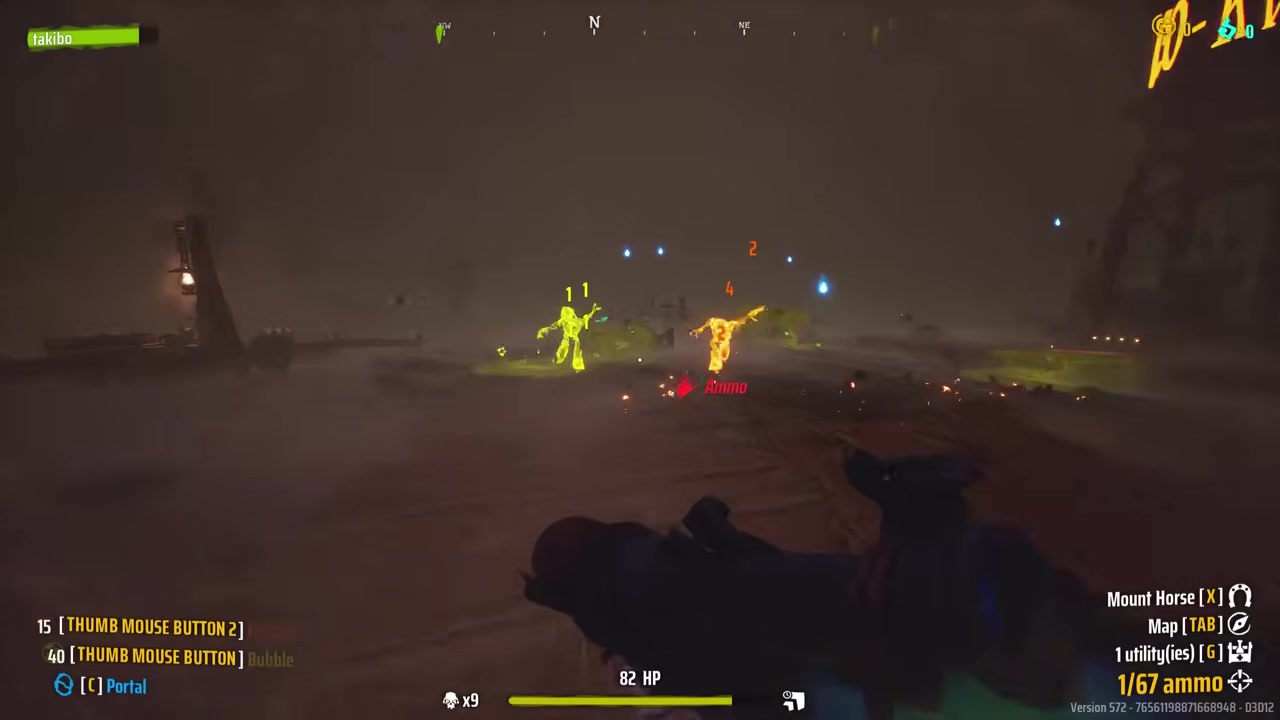
Storms are the game's version of reinforcements - sudden waves of enemies rushing you down. They get triggered by:
- Doing objectives (infinite storm until the objective is done)
- Killing the final boss (infinite storm until you extract)
- Stepping on traps or into the spotlights from those floating soul things in the sky
Outside of those situations, enemies are finite. You can fully clear a map and have it to yourself. That's important to internalize, because it means the random enemies standing around points of interest are worth killing - they won't respawn endlessly.
Counterintuitively, triggering storms on purpose is a solid play. Storm enemies (including elites) drop gold, souls, and most importantly jokers. A favorite opener on nightmare: call in a storm right at spawn, where there's a pile of heals and ammo, fight it off, and ideally walk away with a joker or two before the real run even starts. Risky and aggressive, but rewarding.
8. Ghost Houses Are a Trap - Rush the Structure
Those ghost-like enemies pouring out of soul houses? They count for nothing. No gold, no souls, no XP for weapons or skills, no challenge progress. Wasting time shooting them is pure loss.
Just rush the structure and destroy it - that's what actually drops souls and jokers. On nightmare, where these spawn infinitely and pile on pressure, always carry a spell that can one-shot the foundation.

The top picks: the bubble (a level 12 acid spell) one-shots basically every structure type when thrown at the base. For low-level players, acid spew does the job too - you just have to aim at it for a couple seconds. Always keep at least one structure-clearing spell equipped.
9. Gold Tooth Jokers Turn Storms Into Gold Farms
Put 10 gold tooth jokers on a high-level weapon for a 100% golden nugget drop rate per kill, then farm storms when you're short on gold.
In a single short storm you can reliably pull 40 to 100 gold depending on difficulty and spawns. Not life-changing, but on dedicated gold runs it adds up - and you're scooping up storm joker drops at the same time.
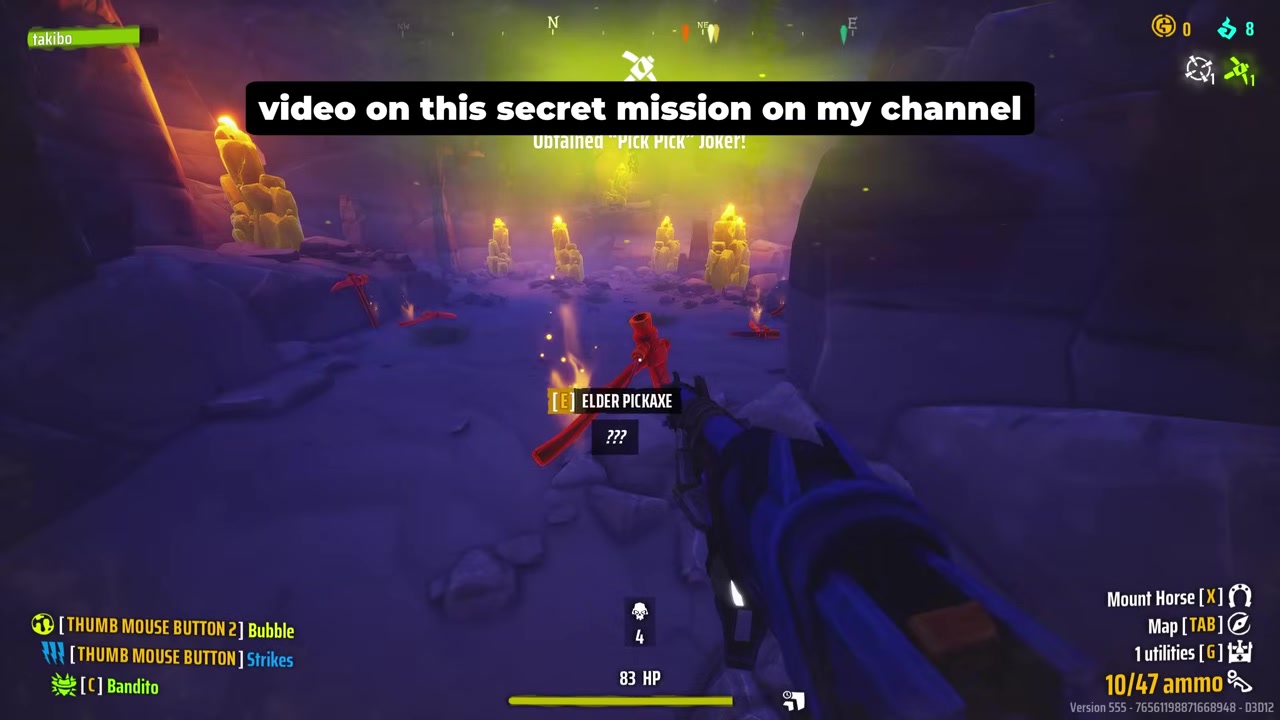
10. Know Your Gold-Per-Ore (and the Canyon Gold Room)
Each ore node takes 16 hits - roughly 6 seconds of holding attack. Payouts scale with difficulty:
| Difficulty | Gold per ore |
|---|---|
| Easy | 36 |
| Nightmare | ~54-58 |
The Canyon map has a secret mission that opens a gold room with 7 ores inside - 252 gold on lower difficulty, around 378 on nightmare, not counting all the other ore out in the map. For full map clears, Canyon yields by far the most gold of any map.
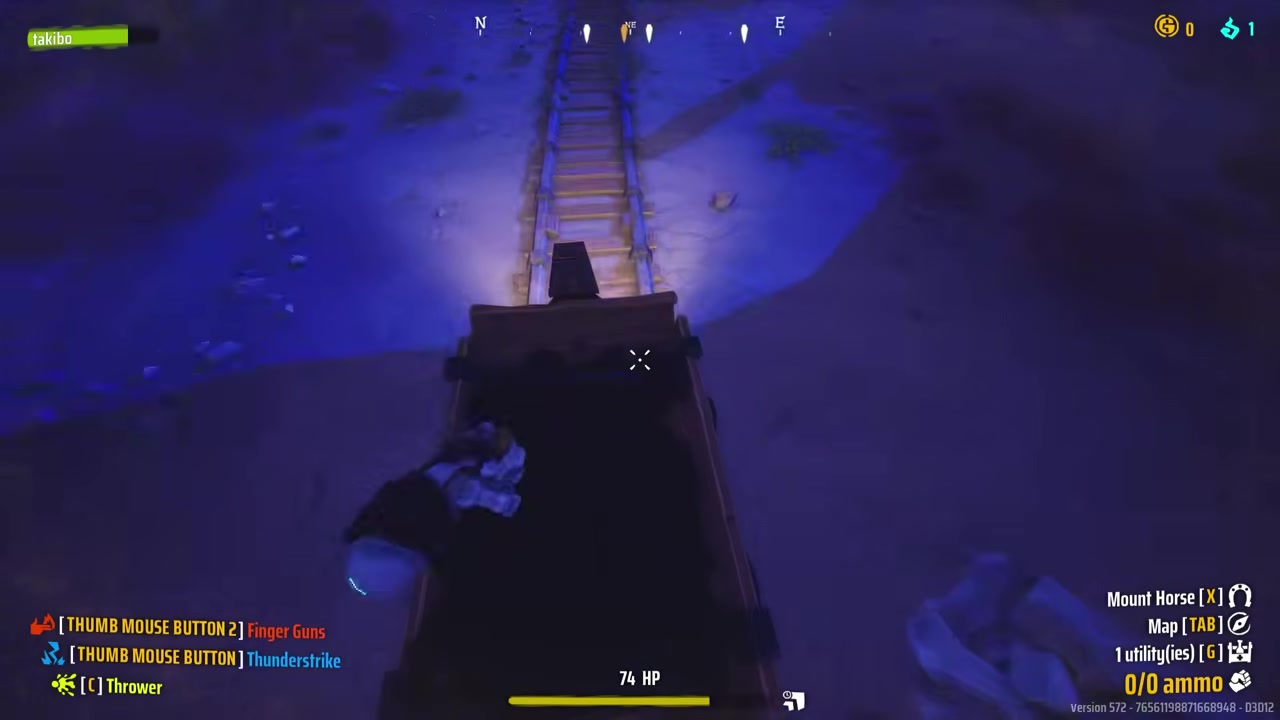
11. Every Map Has Unique Movement Tech
Beyond the standard zip lines and jump pads, most maps have their own traversal gimmick:
| Map | Unique feature |
|---|---|
| Canyon | Mining carts - jump on, shoot or punch to ride the tracks at high speed |
| Desert | Blue portal holes that fling you across the map and into the sky |
| Far Far North | Ice gliding (jump + dash to go very fast) and a train that circles the map |
| Jungle | Vines to reach hidden spots, resources, and chests |
| Far West | Carts, much like the Canyon |
| Woodlands | Geysers to launch into the sky, plus hornet nests and healing mushrooms everywhere |
12. The North Train and Saloon Attics Hold Guaranteed Jokers
This one's huge for joker hunting. The train circling the Far Far North map always carries a legendary joker. Every time it passes, hitch a ride and grab it.
Saloons appear in most maps (Woodlands, Far West, Canyon, Far Far North) and always stock ammo, heals, utility, and chests - but most importantly a guaranteed blue-tier joker in the attic. Always check the attic on your way through.
13. Don't Loot Every Joker - Some Wreck Your Run
In most roguelites any upgrade is a good upgrade. Not here. Some jokers come with brutal downsides that stack into disaster.
One example from a run gone wrong: stacking pink jokers like Life Pack (-30% health) and West Wizard (-30% health) on top of a default glass cannon build dropped max HP to just 48 - an instant one-shot on nightmare. Add the Lazy joker (regenerates ammo but blocks ammo box pickups, which is terrible in solo play) and the run was cooked.
Read the costs before you grab anything. A big upgrade with a hidden tax can quietly end your run.
There are also two joker types - character jokers (whole character) and weapon jokers (the equipped weapon). Here's the sneaky bit: when you pick up a weapon joker in-game (from a ghost house, a drop, etc.), it applies to both of your weapons, assuming both can take that joker type. That effectively makes in-game weapon jokers worth double.
14. Combat & Movement Tricks Worth Stealing
A grab-bag of smaller tips that punch above their weight:
- Marauder shields: instead of going around them, shoot the generator at the bottom of the shield - it one or two-shots the whole thing.
- Floating snipers (very hard+): these never miss, dashing won't save you. Kill on sight. Headshots or shooting their jetpacks count as weak-spot damage.
- Horse trample: ride enemies down for 20-40 impact damage. Just don't take enough hits to get knocked off.
- Wells: always do them in the early game (souls, gold, fragments), but they can trigger a storm or a one-shot nuke. Dash backwards right after activating one.
- Treasure goblins: spawn randomly, drop a free weapon fragment plus a chunk of weapon XP. Always kill them.
- Boomerang double-DPS: throw the boomerang, then grab a secondary ammo box - you can throw a second one before the first returns, doubling your DPS. Great on the final boss where ammo boxes are everywhere.
Bunny Hop for the Fastest Movement in the Game
You can't double jump, but you can bunny hop. Dash, jump slightly before hitting the ground, then dash again the instant you land. Chain it and you build serious momentum - this is the fastest way to move around and the single best way to dodge damage.
On that note, pump up your character movement speed as much as you comfortably can. Since the whole game is about keeping distance between you and your enemies, speed is the easiest damage avoidance there is - better value than most health jokers.
That's the full bag of tricks. None of this is spelled out in-game, so even a few of these should make your runs noticeably smoother.
For the full rundown with gameplay footage, check the original video.