Far Far West Lasso + Frost Shield Build — Borderline Overpowered, Half HP on Purpose

The lasso melee weapon paired with frost shields in Far Far West: a borderline overpowered high-execution build that deliberately stays at half HP to trigger damage bonuses while shields tank everything. Bridge for mobility, Cube for panic invuln, and 2-shot kills when played cleanly.
The lasso is Far Far West's latest melee weapon, and when paired with the new shield build from the Frostburn update, it's "borderline overpowered." This isn't a meme loadout or a theory video — it's a 21-minute live nightmare-difficulty run where a skilled player demonstrates exactly how strong the lasso + frost shield synergy gets, and why staying at half HP is the entire strategy.
This is a full breakdown of the build, the playstyle, and why it works.
The Core Concept: Low HP = Maximum Shields
The entire build revolves around one rule:
"My goal is to be half HP actually."
This isn't carelessness. It's the deliberate trigger condition for the build's power spike. The loadout stacks multiple jokers that reward low HP with increased damage and shield generation, creating a loop where you intentionally tank damage to unlock your full output.
The loop:
- Stay at ~30-50% HP to trigger low-HP damage bonuses
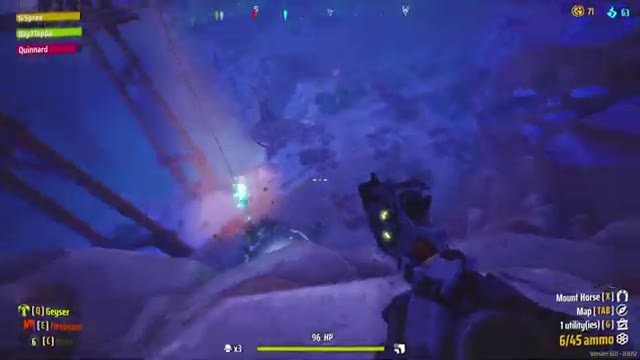
- Kill enemies to generate shields (the blue bar on top of your HP)
- Shields decay over time, but as long as you keep killing, they refresh
- Take damage on shields, not your real HP — your HP stays low, bonuses stay active
The result: you're functionally full HP (shields tank everything) while reaping the benefits of being half-dead.
The Spell Loadout: Bridge, Cube, Decoy
The creator runs Bridge, Cube, and Decoy from the frost tree, though he admits "Decoy is the one thing I don't know if we need."
| Spell | Role in the Build |
|---|---|
| Bridge | Creates ice pathways for positioning and kiting; grants shields to allies who walk on it; the mobility backbone |
| Cube | Panic button — turn invulnerable in ice, break free with shields + freeze nearby enemies |
| Decoy | Draws aggro (least essential to the build) |
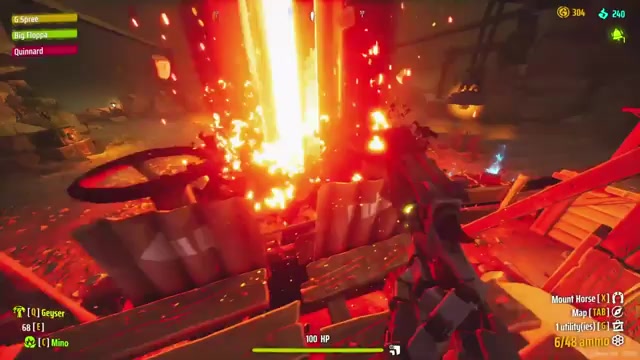
Bridge is the MVP here. The creator uses it constantly to:
- Prolong kills by creating distance and forcing enemies to path around ice
- Maintain shield uptime by staying mobile and avoiding burst damage
- Kite while whipping — the lasso's range pairs perfectly with ice-slide repositioning
"Prolonging the kills using the bridge."
Bridge buys time, and time = more shields = more survival.
The Lasso — High Damage, Requires Precision
The lasso itself is a high-risk, high-reward melee weapon with serious single-target burst:
"Two shots in the body kills, guys."
That's the damage ceiling when the build is online. But it demands precision and discipline:
- Miss a shot and your DPS stalls
- Get surrounded without shields and you're paper
- The whip has a learning curve — landing shots consistently is mandatory
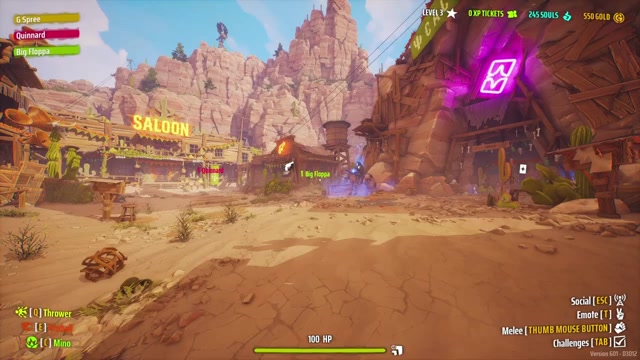
The creator explicitly calls out his own mistakes:
"I got to land better shots on those guys."
This isn't a forgiving weapon. It's a scalpel, not a sledgehammer. If you're not confident landing hits under pressure, this build will fold.
Shield Maintenance Is Everything
The most repeated line in the entire run:
"I got to build shields as fast as possible. Maintain shields. Save cube."
Shield uptime is the survival mechanic. Without shields, you're a half-HP melee character in nightmare difficulty — dead in seconds. The playstyle is a constant juggle:
- Kill to generate shields (on-kill joker triggers)
- Stay mobile with Bridge to avoid taking burst damage that strips shields
- Save Cube for emergencies — if shields drop and you're about to die, pop Cube to reset
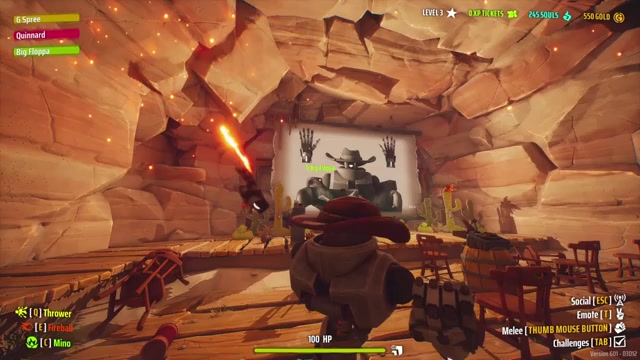
When shields drop mid-fight:
"Lost shield already. GG's."
That's not an exaggeration. Losing shields means you're back to naked half-HP, and the window to rebuild them before you die is narrow.
Objectives Are the Stress Test
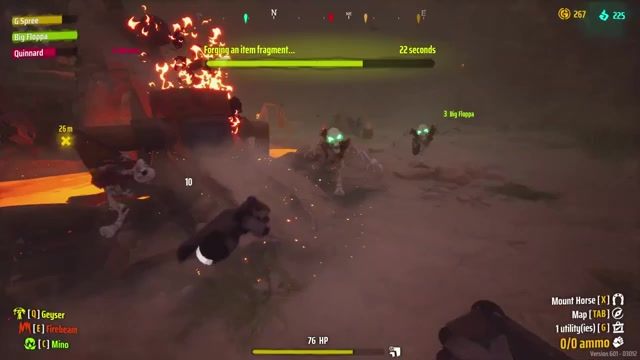
The hardest moment in the run: a timed objective where the creator has to raise and lower platforms while under constant bombardment.
"I got to build shields as fast as possible. Maintain shields. Save cube. I'm doing bridge right now. Looking for dude to fight. Lost shield already."
This is where the build's fragility shows. Objectives force you to stand still or path predictably, which conflicts with the constant repositioning the build needs. The creator barely holds it together:
"Can't stand for too long. I'll just die. I'll literally get blown like a balloon blown up style."
The takeaway: this build excels in open-world combat where you control pacing. Forced engagements with no escape routes are its Achilles' heel.
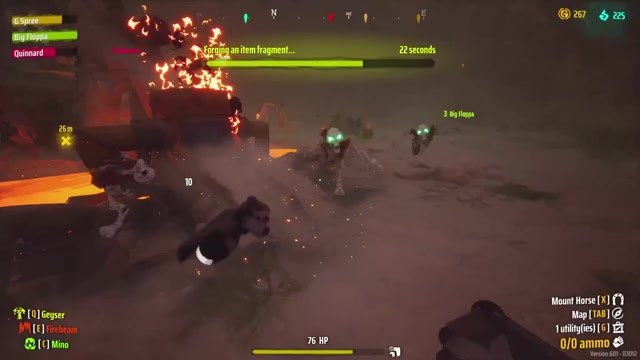
Hellfire Map and Volcano Quest
The creator is running the new Hellfire map and picks up a quest:
"Activate all the valves to awaken the volcano."
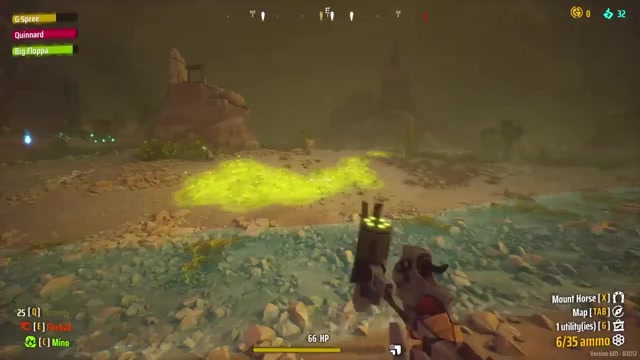
This ties into the Frostburn update's new content — the Hellfire map with active volcano hazards and lava everywhere. The lasso + frost shield build handles the environmental chaos well: Bridge crosses lava, shields tank meteor chip damage, and the high burst lets you kill threats before they pile up.
The Lighthouse Tower — Always Do It First
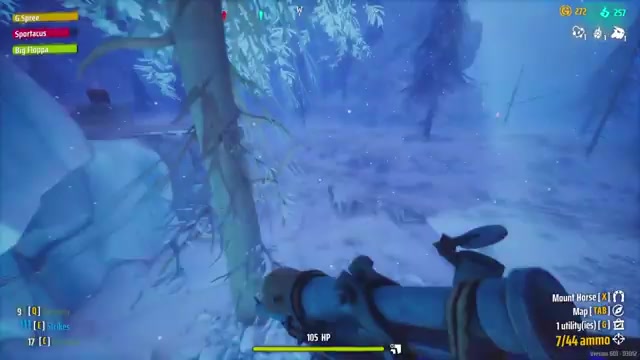
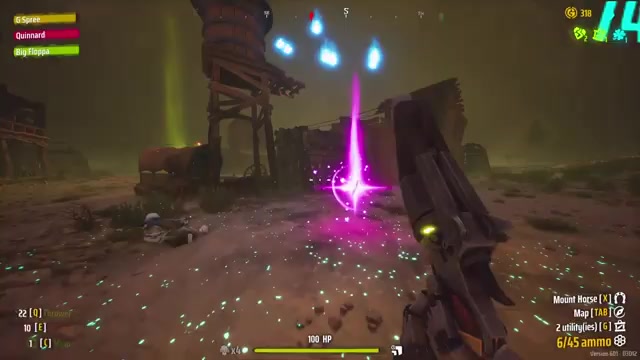
Early in the run, the creator hits the lighthouse tower (new in Frostburn):
"They put the lighthouse in literal Narnia. It's not the worst though cuz it's also in the red zone."
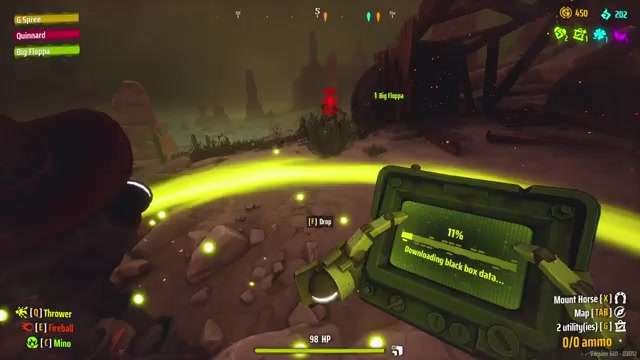
The lighthouse reveals all special locations on the map — the refiner, copy press, merchants, everything. The creator treats it as a mandatory first stop, even when it spawns in a dangerous red zone. Knowing where objectives and upgrades are lets you path efficiently, which matters for a build that lives on tempo.
Mining Uranium Solo
One of the riskier objectives the creator attempts: mining uranium for the new in-match currency system.
"I'm freaking at the mine for uranium. I've never done this. And typically these kinds of things solo do not go the best."
He admits uncertainty — "am I just mining this for the objective sake or what's going on?" — but it's part of learning the new Frostburn economy. Uranium is the in-match currency for merchant buys and refiner upgrades, so mining objectives are now high-value targets.
Weaknesses and Why It's Not Perfect
The creator is upfront about the build's fragility:
"Last game looked way cooler out the gate though. I just couldn't hold together, man. We were so set, but the imp was too strong."
The imp (a mini-boss) ended his previous attempt. This tells you everything: the build has no safety net. Miss shots, lose shields, or face a burst-damage boss, and it crumbles. The high ceiling comes with a low floor.
Quick Reference
| Component | Pick | Why |
|---|---|---|
| Primary | Lasso (melee whip) | High burst, 2-shot kills when build is online |
| Spells | Bridge, Cube, (Decoy optional) | Bridge = mobility + shields, Cube = panic invuln |
| Core mechanic | Stay at 30-50% HP | Triggers low-HP damage bonuses while shields tank real damage |
| Playstyle | Kill → shields → kite with Bridge → repeat | Shield uptime is survival |
| Strengths | Borderline overpowered damage when executed cleanly | High skill ceiling |
| Weaknesses | Collapses if shields drop; forced engagements are brutal | Low margin for error |
The TL;DR
The lasso + frost shield build is a high-execution, high-reward playstyle that turns "half HP" into a power condition instead of a liability. You deliberately stay low to trigger damage bonuses, then use on-kill shield generation to tank everything while outputting 2-shot kills with the whip. Bridge is the mobility backbone, Cube is the panic button, and precision is mandatory.
It's borderline overpowered when played cleanly. It's also unforgiving — miss shots or lose shields and you're toast. If you like high-skill builds that reward perfect execution, this is your endgame. If you want a safe, forgiving loadout, this is not it.
This was a live nightmare-difficulty run, not a sanitized guide. For the full chaotic gameplay and creator commentary, check the original video.