I Beat Every Difficulty Using Only Spells in Far Far West — Spells-Only Challenge Run
Spells-only challenge run across all four difficulties in Far Far West. Tornado combos, Ritual+Cactus healing stacks, Swap dead-eye kills, and the meta Rain build that carries nightmare.
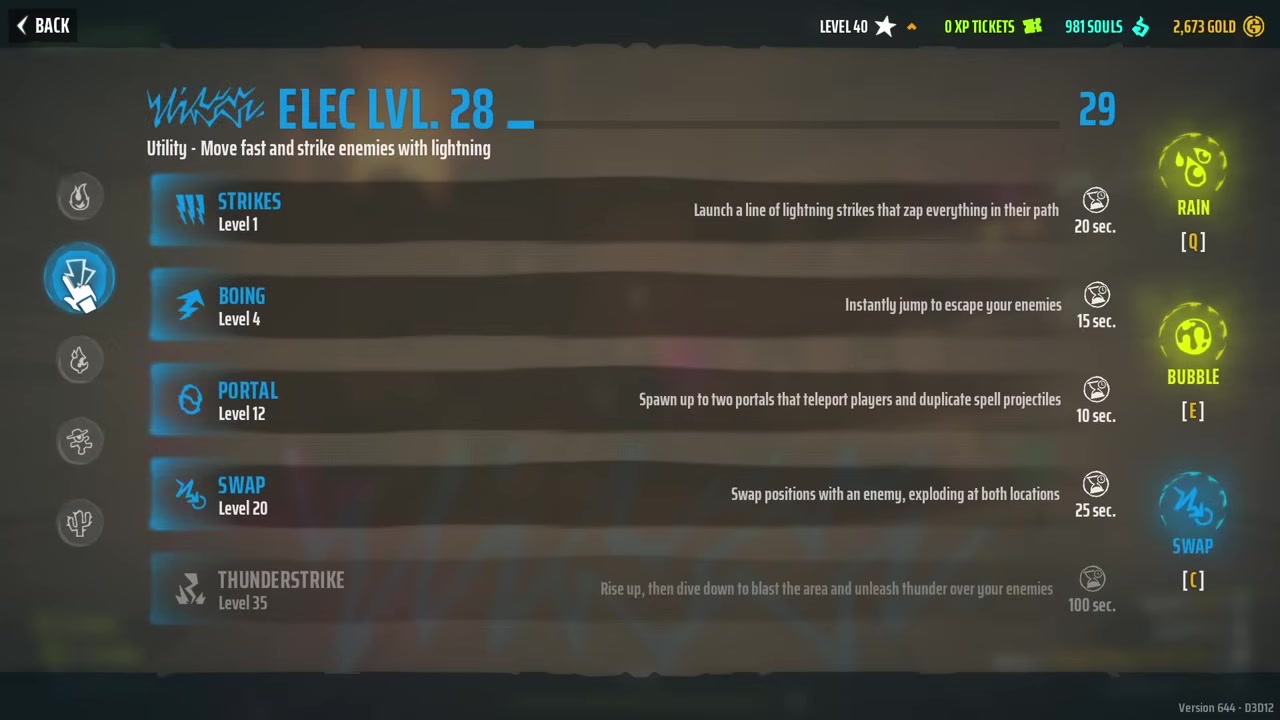
The spells in Far Far West are a vital part of any loadout, and the spell roster you take with you can easily make or break your missions. Hoard clearing, burst damage, survivability, mobility — spells cover all of it. So I figured: what if I just used spells? Could I beat every difficulty using almost exclusively spell damage?
Spells have one major flaw: cooldowns. Some are 10 seconds, others push 2 minutes. Those cooldowns exist to encourage you to, you know, use your gun. That didn't stop me. Let's get ready to cast some spells.
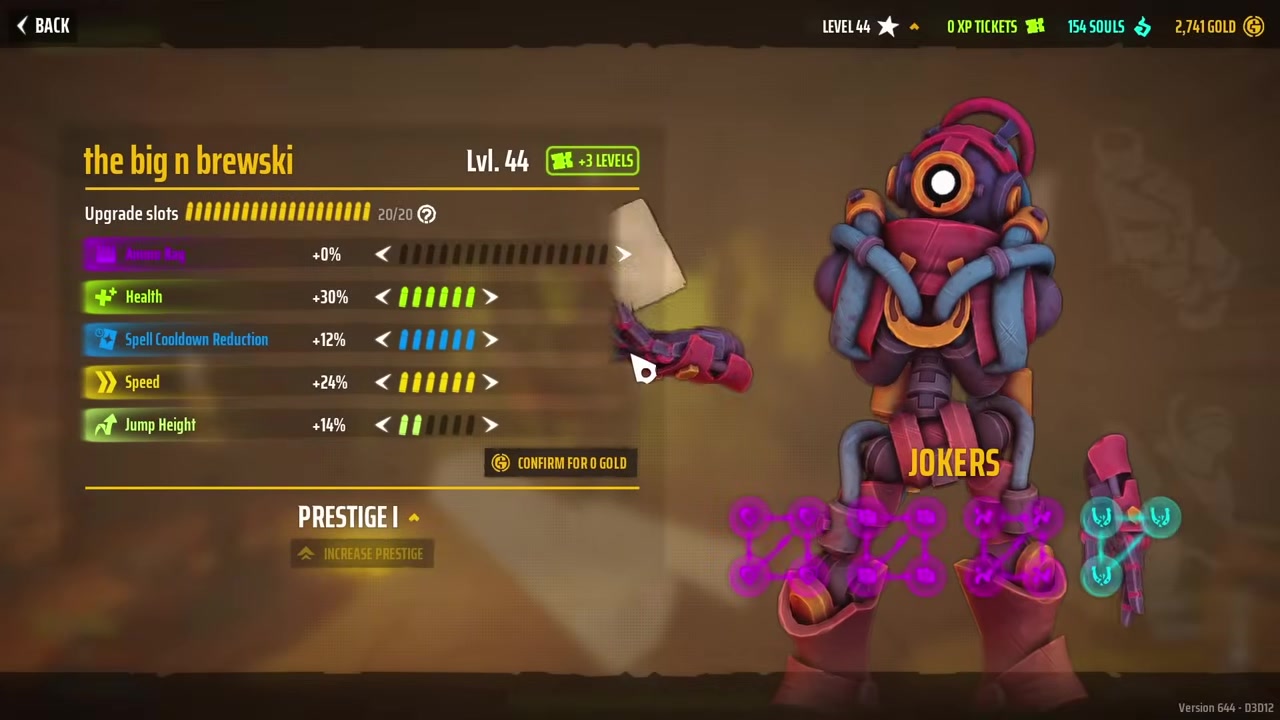
The Universal Joker Setup
Before we get into the runs, I locked in this Joker setup for every difficulty:
| Joker | Why |
|---|---|
| Battle Mage | Lowers spell cooldowns by 1% per kill — required |
| West Wizard | Cuts all cooldowns by 30% (costs 30% HP) — required |
| Extra Jump | Filler slot, mobility |
| Disgrace | 30% movement bonus (no horse, but I become the horse) |
Battle Mage and West Wizard are the only ways to universally lower spell cooldowns without using weapons (alongside One-Trick Cantrip). Without them this challenge isn't viable.
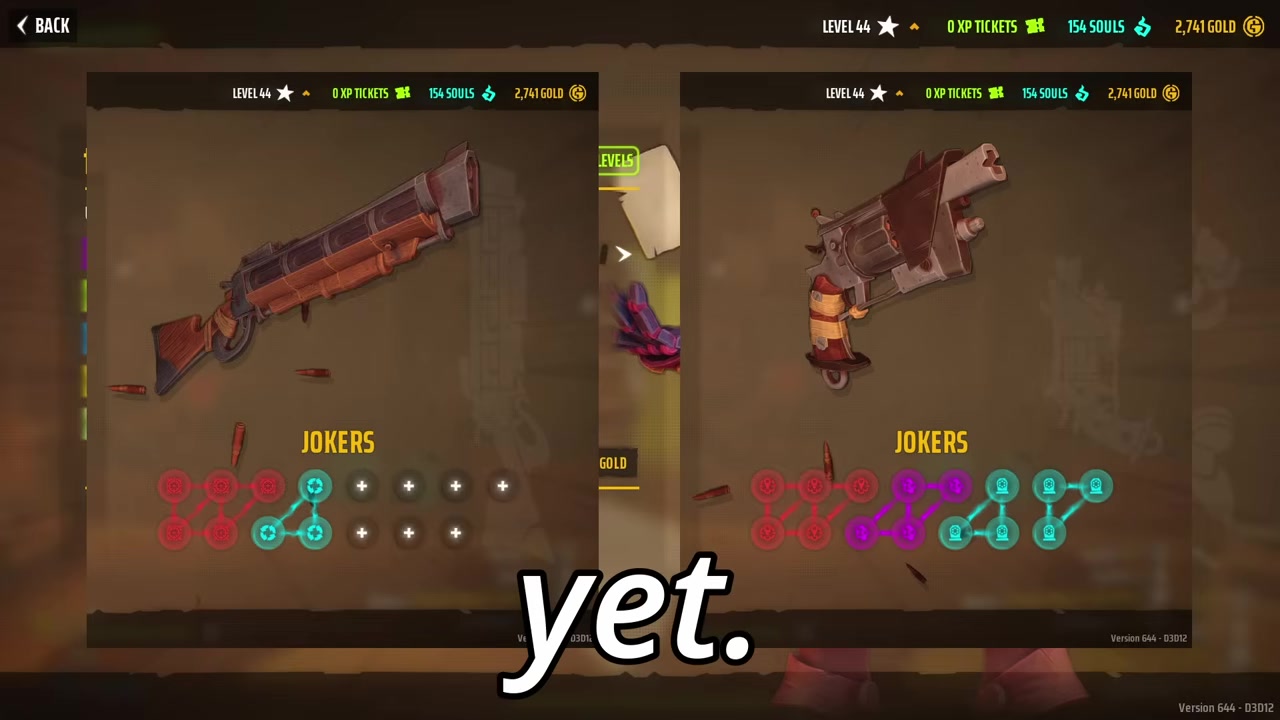
For weapons, I just equipped the Quad and the Revolver since I didn't plan on using either of them yet.
Run 1: Normal Mode — Bubble + Surcharge + Finger Guns
For normal I wanted to give some of the weaker spells their moment in the spotlight before conforming to the meta. I picked Bubble + Surcharge + Finger Guns.
"But isn't Finger Guns the final fire spell? Shouldn't that one actually be really good?" Trust me, I know. We'll get to that.
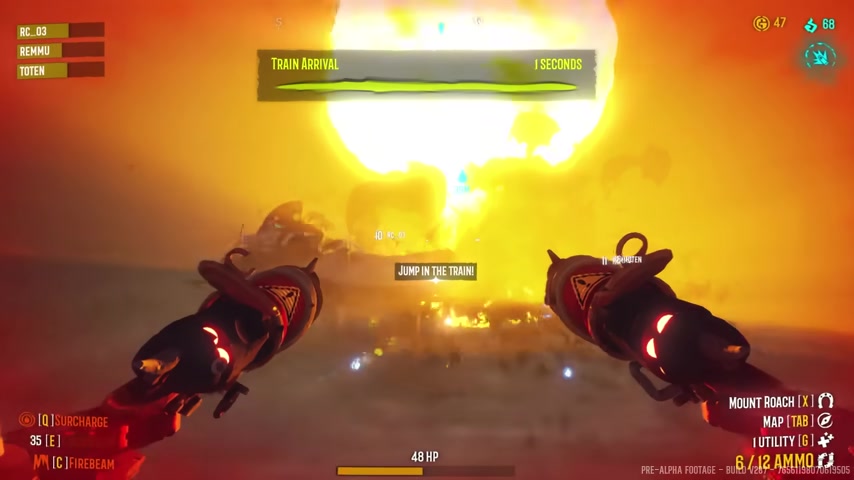
I ran a payload mission against the Cryptic Necromancer because payload is my least favorite mode on nightmare, so I wanted it out of the way early.
Finger Guns Reality Check
Finger Guns has roughly the same explosive power as a Fireball — takes a few shots to clear larger camps. It one-taps water towers at least.
The boss fight is where it shines: one cast deals about a third of the boss's health while I'm intentionally missing to place fire on the ground. Why fire on the ground?
The Tornado Setup
Bubble placed in fire puddles spawns fire tornadoes.
Tornadoes aren't actually good for boss damage, but they do nice area damage and ignite enemies for Surcharge to finally do something. With our cooldown reduction, we can basically infinitely cycle tornadoes using fires left behind after the previous tornado.
Killed the Necromancer on my third Finger Gun cycle around 3 minutes in.
Important note: Spells cannot activate extraction by hitting the bell. They can hit it (you'll hear it ring), but it just doesn't trigger like shooting or punching does.
Verdict on This Set
| Spell | Verdict |
|---|---|
| Finger Guns | Worst capstone spell in the game. 120s cooldown for what amounts to a fancy fireball. Cancels on any other action |
| Surcharge | AoE is shorter than you think. Most enemies die to fire DoT before detonation matters |
| Bubble | The only spell I genuinely liked. 40s cooldown, great for camps, fodder, and tornado setups |
If I could fix Finger Guns, I'd make it toggleable — recast to end early and refund part of the cooldown, and not interruptible by healing or other spells.
Run 2: Hard Mode — Pistolero + Ritual + Geyser
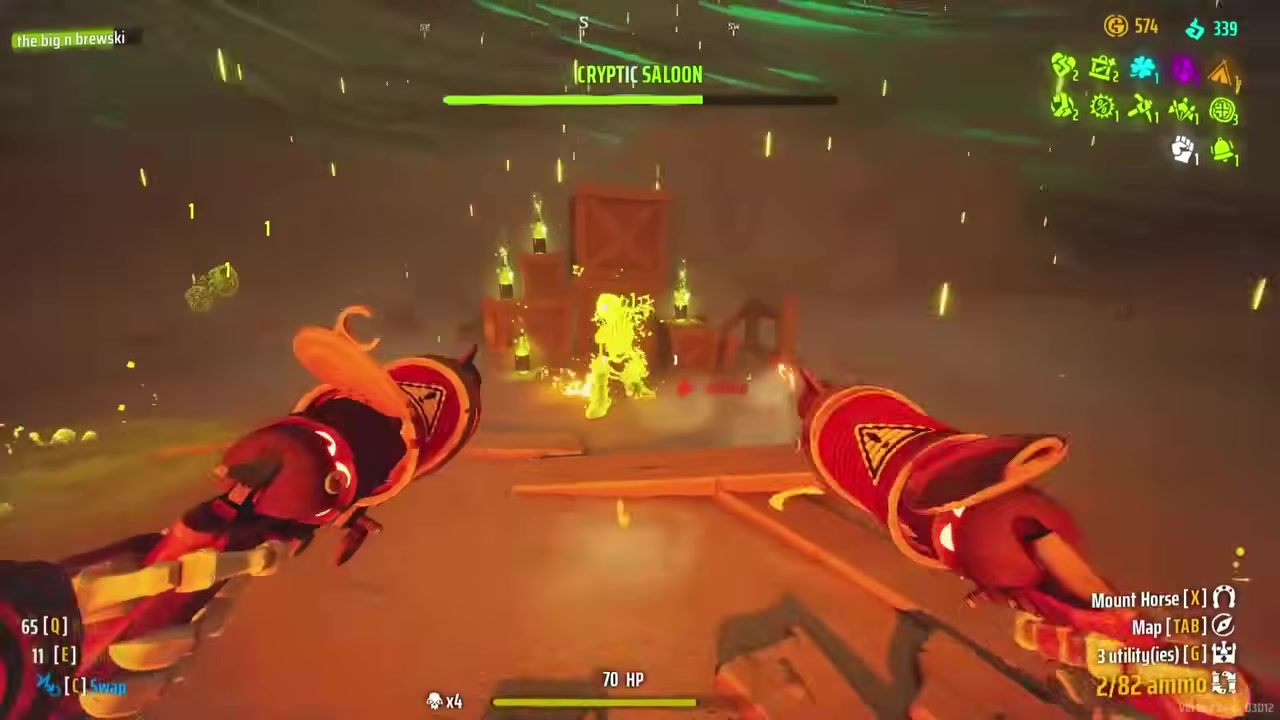
Hard mode mission: a gas bomb mission against the Cryptic Saloon (easiest boss, but has some funny spell interactions).
Geyser turned out to be disappointing for camp clearing — basically does nothing. The water tower compensated me with a Second Wind, so I can't complain too much.
The Big Combo: Ritual + Cactus Spells
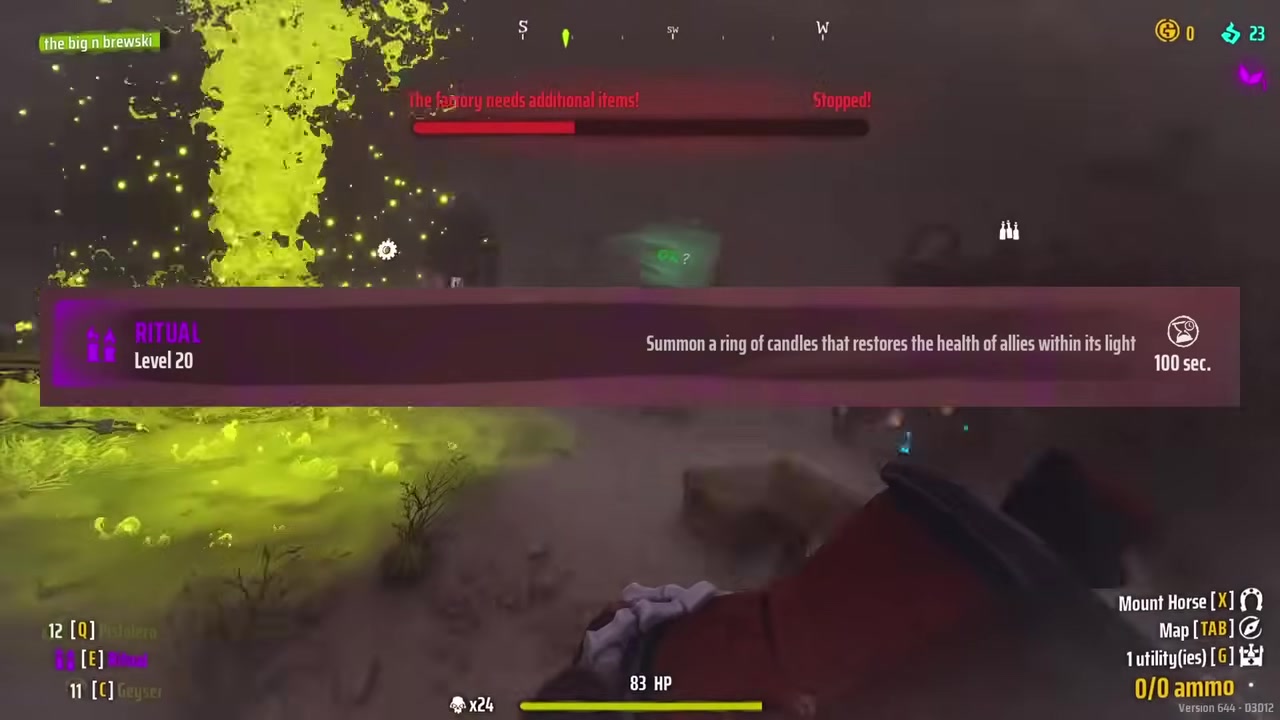
This is the setup that made hard mode actually fun:
Placing Ritual on or near placed Cacti spawns additional Rituals.
You can stack a bunch of Rituals around your Pistoleros for insanely high burst healing. Works with Doll too, but unfortunately not with Corruption (so much for instantly converting every enemy that's ever lived).
Geyser vs. Saloon
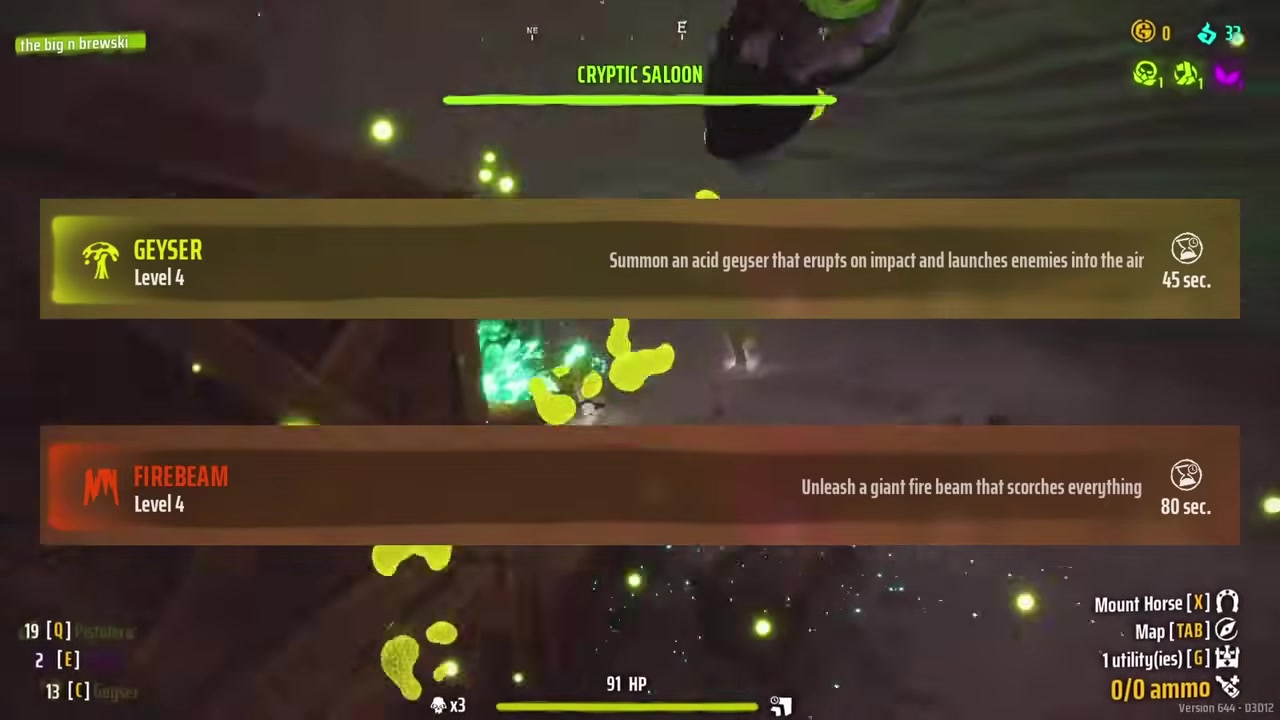
Pillar-type spells (Geyser, Fire Beam) are insanely strong against the Saloon. Place them near the corners and kite the Saloon's panels through the damaging zones. Especially crushing during the beam attack — the boss rotates at a consistent rate, breaking more panels and dealing huge damage.
Pistoleros couldn't shoot the panels for extra damage (a bit dumb), but they're still good for ad clear and Ritual healing.
Verdict on This Set
Genuinely fun defensive playstyle. Not super strong on raw numbers but the Ritual-Cactus synergy is one of the coolest things in the game. Probably wouldn't survive nightmare with this exact set, but I'd run something similar for fun.
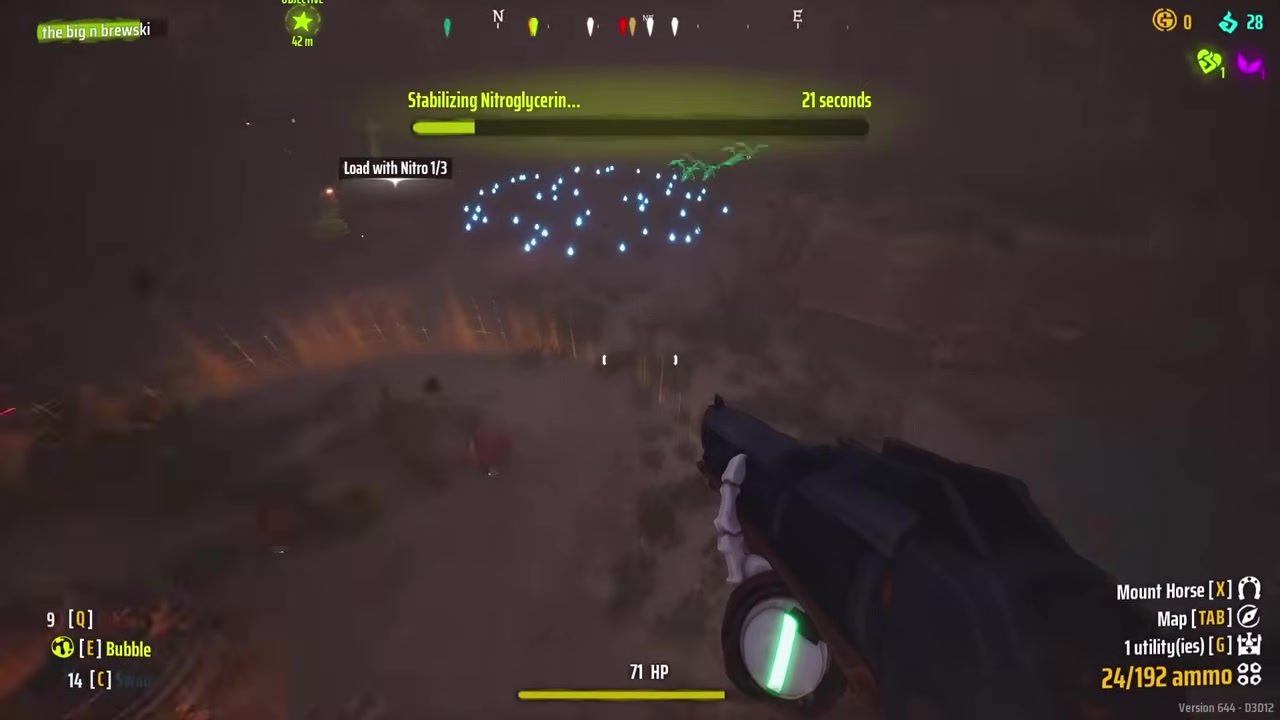
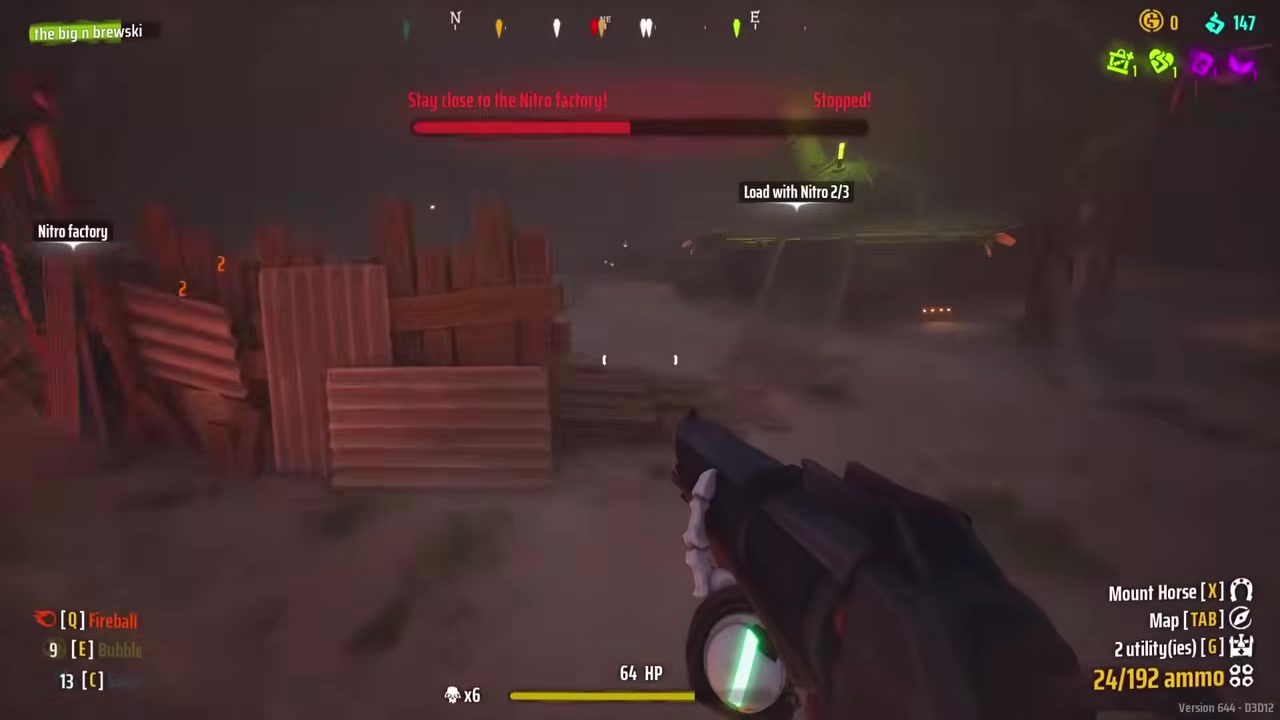
Run 3: Very Hard — Fireball + Bubble + Swap
Mission: nitro cannon against the Necromancer (rematch). For this run I went back to my old go-to of Fireball + Bubble and added Swap — a spell I'd never used before but everyone in the comments kept telling me it's a dead-eye killer.
The Dead Eye Problem
Most spells cannot stun dead eyes. Drain is the only spell that consistently staggers them — and with a 25s cooldown and 20 damage, it's not viable for kills.
Fireball does enough damage with the fire DoT to kill them, but they'll usually still get a shot off. Swap fixes that:
- Tag a dead eye with Fireball for most of the damage
- Use Swap to confirm the kill before they shoot
Swap also pulls you out of tight spots and deals decent area damage. The big downside: snake canceling Swap might be my least favorite thing in the game.
Tornado Yoinking
Once I started casting tornadoes at the objective, Swap unlocked something incredible:
Swap enemies directly into your tornadoes.
Yoinking dead eyes and liches into tornadoes is genuinely my new favorite thing to do. Plus you barely take damage from your own tornadoes — much lower risk than it looks. Doesn't work on horsemen and bosses, which led to a near-death moment when I tried to swap out of my own tornado.
Tornadoes vs. Bosses (Bad News)
Remember when I said tornadoes don't do good boss damage? It got so much worse. It took 6 whole minutes to get the Necromancer to half health with tornadoes alone. For comparison, my melee-only run took 6.5 minutes total to kill him on nightmare.
I caved and used my Quad and Revolver to finish the fight (still took 2.5 more minutes). Killed the boss with a Swap explosion for the bit.
Lesson: tornadoes look incredible and clear hordes well, but they're terrible single-target. Fireball and Bubble alone aren't much better — Fireball deals 60 damage with a short cooldown, Bubble does even less.
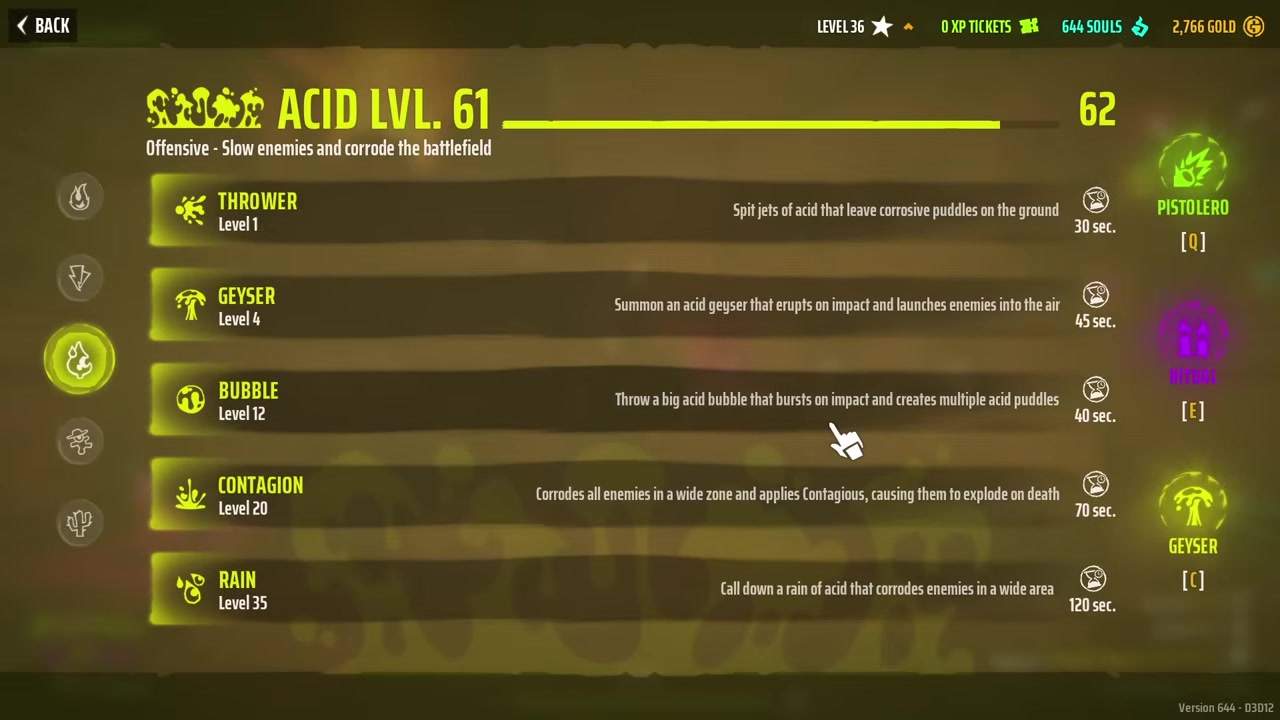
Run 4: Nightmare — Bubble + Swap + Rain
Time to get real. Final loadout: Bubble + Swap + Rain.
Rain Is Possibly The Best Spell In The Game
Rain places a giant acid cloud above you that constantly applies acid DoT to everything below it.
What makes Rain absurd:
- Massive AoE damage, clears fodder incredibly fast
- Slows affected enemies to a crawl — including bulls, liches, and horsemen
- Long uptime, reasonable cooldown
This is the spell that actually makes nightmare survivable.
The Weapon Picks (For The First Time)
For nightmare I had to pull out the stops and intentionally pick weapons. I went with Long Ranger + Dual Revolvers — both have unique Jokers that carry spell-based builds:
| Weapon | Joker | Effect |
|---|---|---|
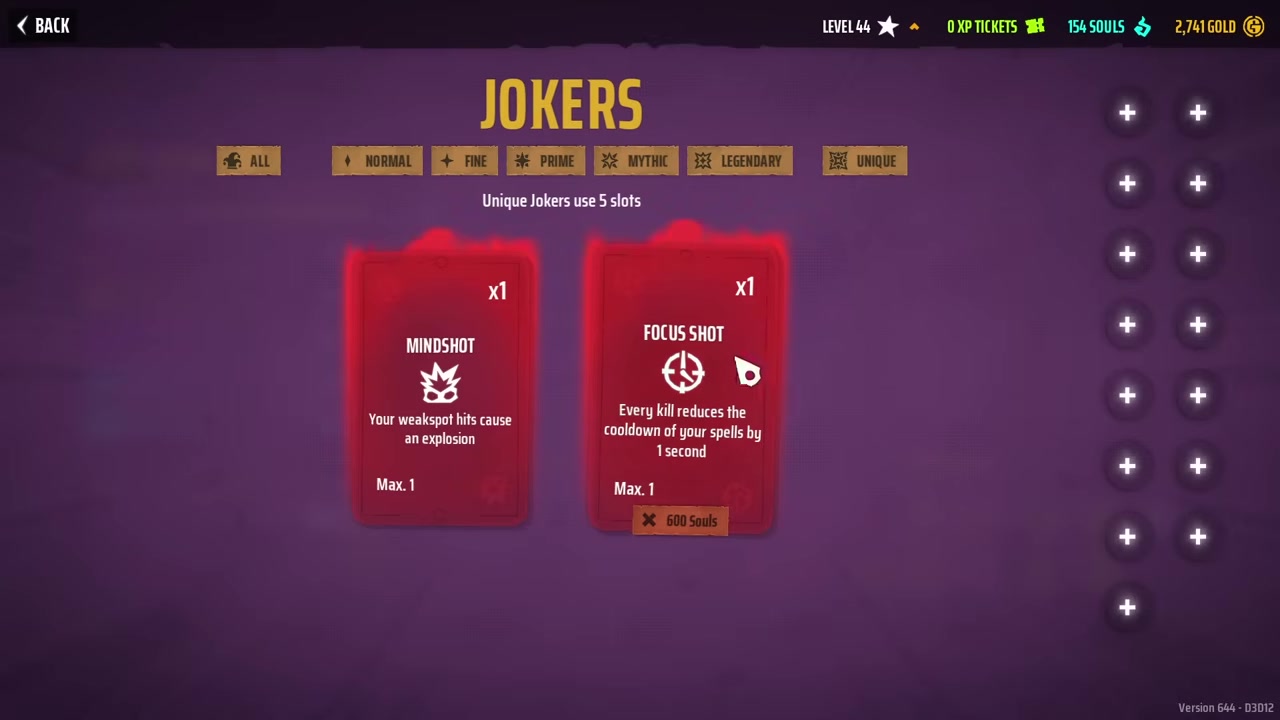
| Long Ranger | Focus Shot | Lowers all cooldowns by 1 full second per kill |
| Dual Revolvers | Swamp Trick | Reload explosions place elemental puddles |
Focus Shot makes Battle Mage look like nothing. Paired with the Long Ranger's high pierce, you shoot into crowds and pull huge chunks off your cooldowns.
For Dual Revolvers I ran fire elemental so reload explosions place fire puddles for Bubble to spawn tornadoes — saving a spell slot for Swap (escape tool) instead of Fireball.
The Mission
Drone machine mission against the Saloon, and I decided to clear everything: every side objective, every danger zone, the map quest, the works. No skipping.
Side objectives took forever — gold mining is slow when you over- and undershoot adjustments (I'm just a little bit silly), and the stupid ass pumpkins I genuinely hate.
Took me about 30 minutes to clear all the side content before the boss. Could be chalked up to playing solo? 100%. Doesn't matter.
Saloon Boss — Tornado Setup
The reason I brought Bubble back: tornadoes vs. Saloon is even better than Geyser. Tornadoes are wider, hit more panels at once, and reach high enough to always connect regardless of phase. Their movement also helps them reach new panels faster.
This was easily the fastest boss fight of every run.
The Final Verdict
I beat all four difficulties using mostly spell damage.
Across the runs I used 9 different spells in winning loadouts plus a handful of others that didn't make the cut. Nightmare took a few days to dial in, but once I had the build, I knocked out all four difficulties in a couple of hours.
Tier Takeaways From The Challenge
| Tier | Spells | Why |
|---|---|---|
| God Tier | Rain, Bubble, Swap | Carry every difficulty |
| Strong | Pistolero, Ritual (with cactus combo) | Defensive synergy is real |
| Niche | Geyser, Fire Beam | Insane vs. Saloon, weak vs. hordes |
| Skip | Finger Guns, Surcharge | Cooldown-to-payoff ratio is awful |
Fixes I'd Want
- Finger Guns: make it toggleable, refund cooldown on early end, don't cancel on healing
- Surcharge: wider area or shorter cooldown
- Spells activating extraction bell: would help spell-only runs immensely
I'd love to revisit this once new spells drop and some balance passes hit. There are several spells that could really use reworks.
That's a wrap on the spells-only challenge — every difficulty cleared with mostly cooldowns and tornadoes. For the full live commentary including the snake-cancel rage and the swap-yoink-into-tornado highlight reel, check out the original video.