Far Far West Lasso Build Without Picking Up Jokers

Far Far West Lasso build cleared solo Nightmare without picking up extra Jokers. Doll, Rain, Breeze spells, healing plus armor, and a Revolver secondary.
Far Far West Lasso Build Without Picking Up Jokers
My pre-equipped Lasso loadout cleared solo Nightmare without picking up extra Jokers during the run.
Last updated: November 13, 2026, based on my October 17, 2026 video.
The important part of this Far Far West Lasso Build: Solo Nightmare Without Picking Up Jokers is the distinction between bringing a loadout and needing pickups to make it work. This is not a zero-Joker build. It is a prepared melee setup that did not need additional Jokers during the documented clear.
The plan is straightforward: combine healing with armor, keep Doll, Rain, and Breeze, and carry a ranged secondary with strong single-target damage. Lasso does the heavy lifting, but the rest of the loadout makes that melee pressure sustainable.
Lasso is very good. That does not make it “OP,” and I am not going to pretend otherwise.
How does this Far Far West Lasso build clear solo Nightmare without Joker pickups?
Melee builds are not especially unique when they need certain Jokers to function. The useful question is whether the setup already has what it needs before you start looking for more.
Here, the defensive foundation is healing plus armor. Healing restores HP, while armor gives you temporary protection beyond your normal HP cap. That matters because topping off health is only part of surviving sustained melee combat.
The spells cover two important jobs:
- Doll is very important against Elites.
- Breeze helps against Elites and generates a lot of armor against hordes.
- Rain combined with Breeze can clear an entire horde while building armor.
That is the core setup. The run does not depend on finding a lucky Joker midway through the mission to complete it.
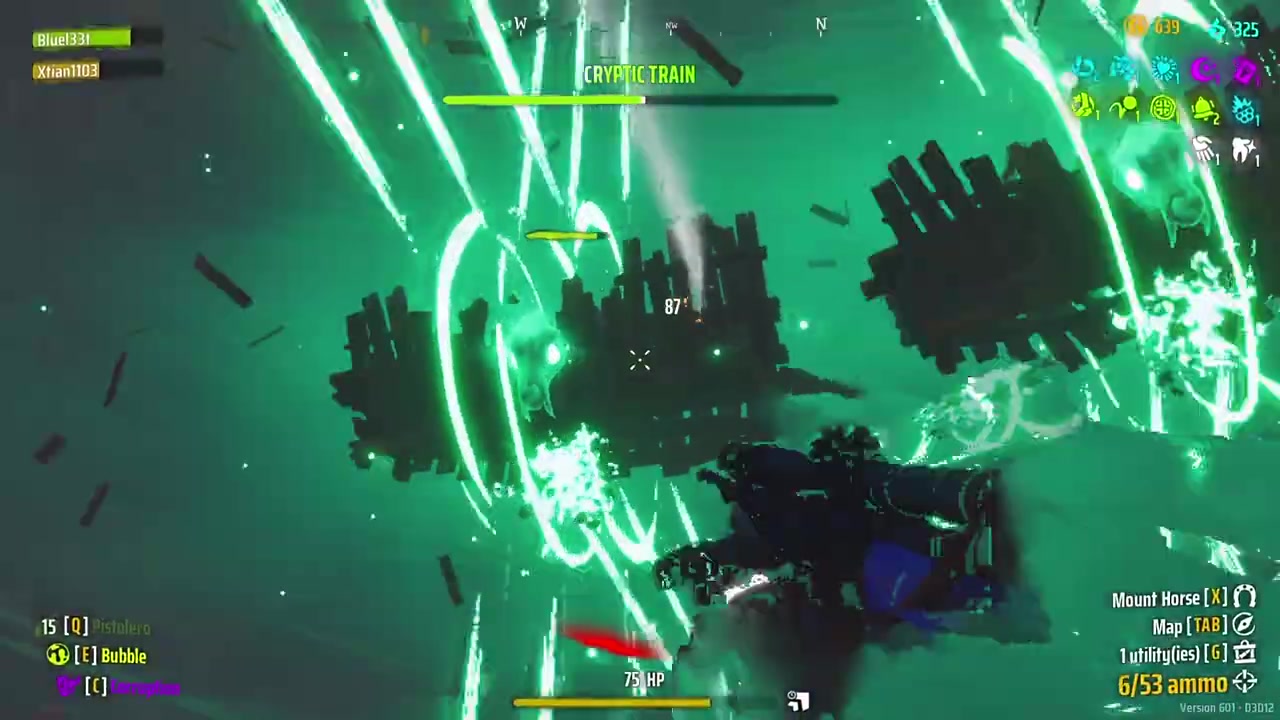
One boundary matters throughout this guide: the main Nightmare clear ends at the SUCCESS screen around 29:20–29:21. The later Red Elites footage is a separate clip with a different HUD and spell selection. It is not evidence that the main run used extra pickups.
What is the run’s starting loadout?
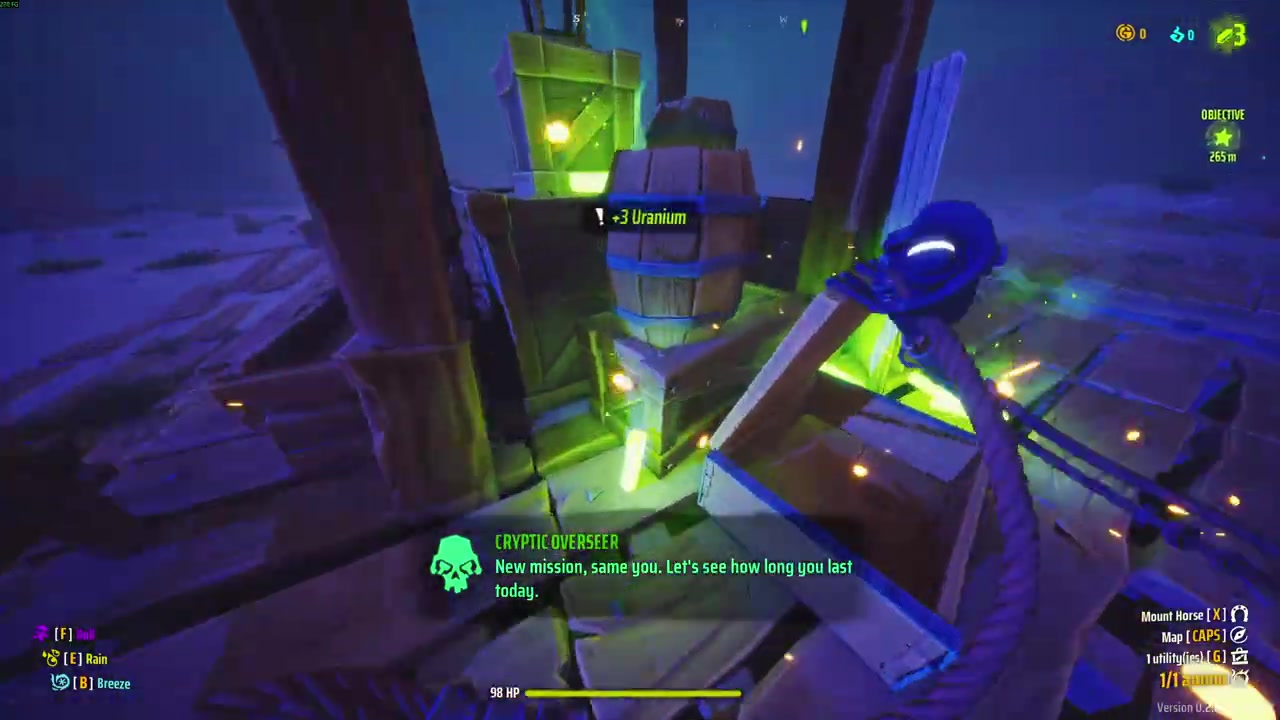
The fresh run starts around 00:29, after the opening highlight montage. By 00:36–00:40, the HUD shows 98 HP, +3 Uranium, and these spell bindings:
| Slot | Spell |
|---|---|
| F | Doll |
| E | Rain |
| B | Breeze |
| Primary weapon | Lasso |
| Secondary weapon | Revolver |
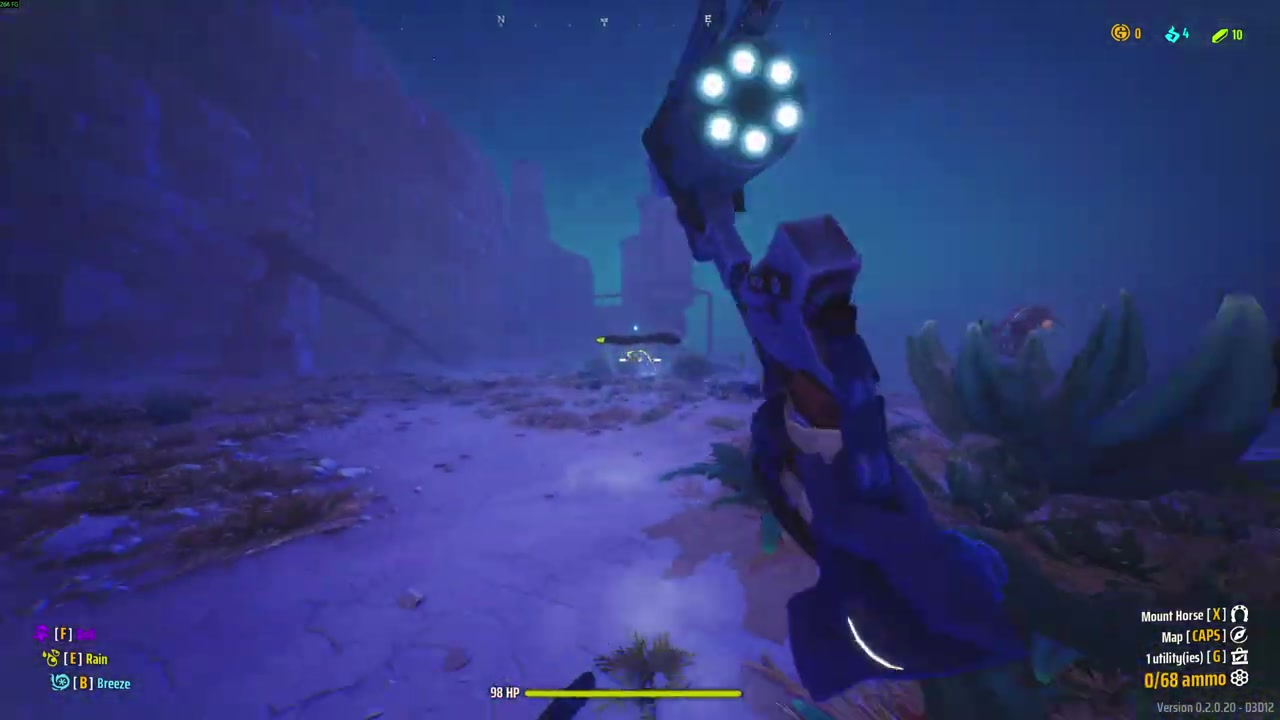
The secondary throughout the main run is a Revolver. The close-up at 01:03 clearly shows its six-chamber cylinder.
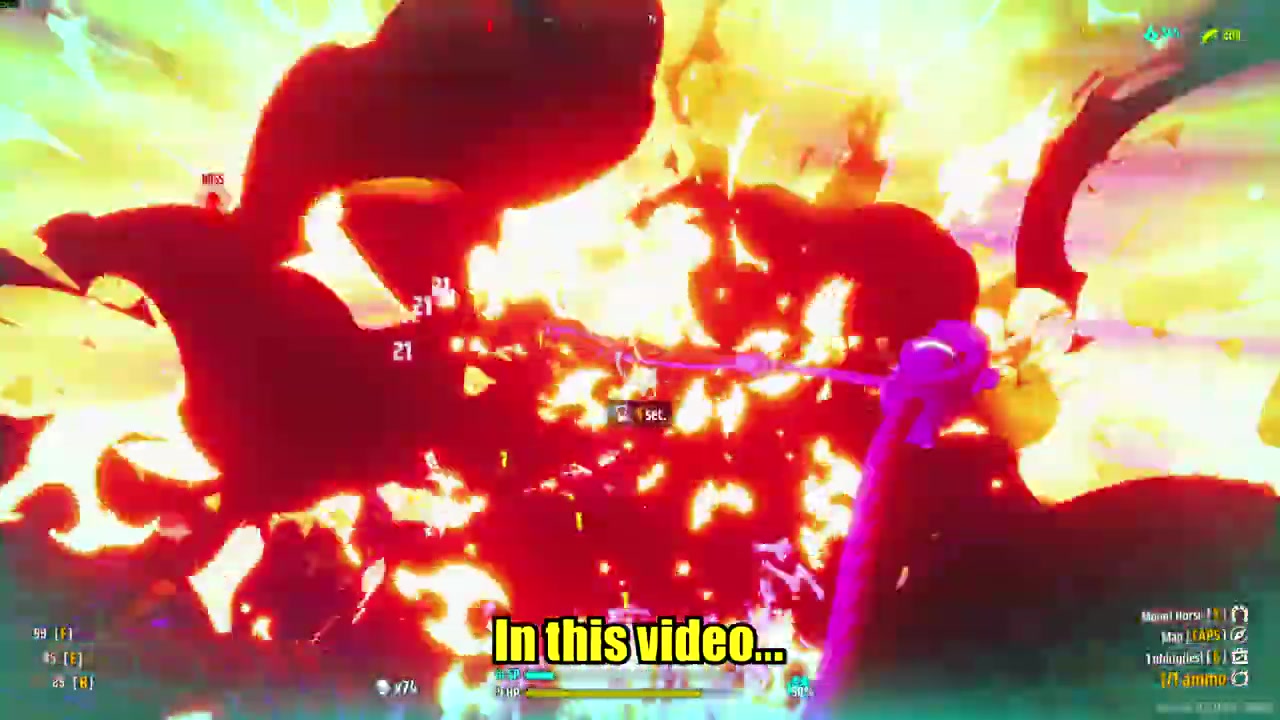
Do not use the first few seconds as the starting-state reference. The opening 00:00–00:28 sequence is a combat montage, with resources, health values, and kill streaks drawn from later fighting. Its yellow caption only says “In this video...”
The actual fresh start resets to 0 gold. That is the useful reference point when following the run from its beginning.
Why do Doll, Rain, and Breeze work together?
The spell choice is not three interchangeable defensive buttons. Each part has a reason to stay.
Doll matters against Elites. That is the first thing I would preserve when copying this setup. A melee build needs more than a comfortable answer to ordinary enemies; it also needs support against the tougher targets that can interrupt its momentum.
Breeze serves both sides of the fight. It is useful against Elites, but it also grants a lot of armor against hordes. That gives it a defensive role without making it a spell you save only for a bad situation.
Rain complements Breeze against groups. Combining them can clear an entire horde while gaining a substantial armor buffer. You are not simply spending spells to remove enemies—you are also improving your position for the pressure that remains.
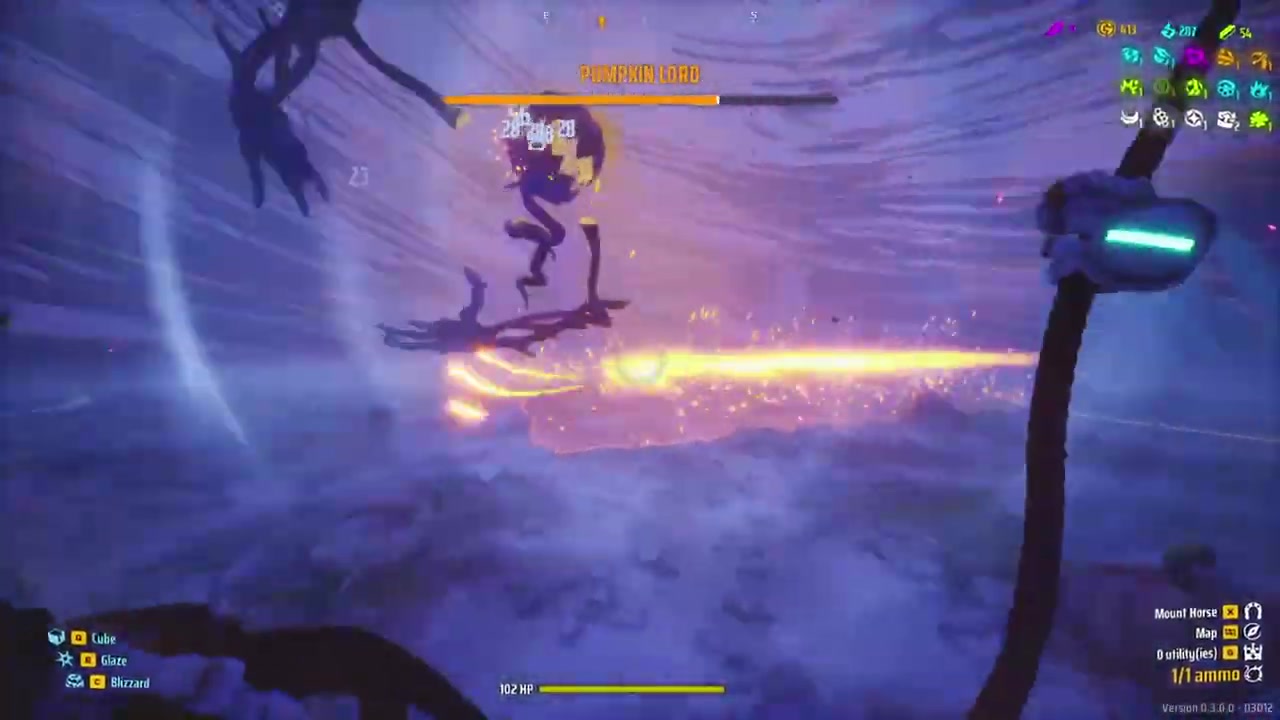
This is why I would not replace the setup with three Frost spells and expect equally consistent results. My warning in the video description is specific: three Frost spells are not enough against Elites for consistent wins.
At 09:46–09:49, the Lighthouse frame still shows Doll, Rain, and Breeze. The caption reads, “Free high and long jumps without any gimmicky Jokers.”

That caption demonstrates movement during the run. It is not a reason to invent another movement Joker for the loadout.
How should I manage healing, armor, and temporary HP?
The defensive principle is simple: mix healing with armor so your protection can extend beyond the maximum HP cap.
Healing alone has a ceiling. Once HP is full, restoring more HP does not give you the same extra buffer that armor provides. Combining the two lets the build recover health while also accumulating temporary protection.
The confirmed Lasso Jokers show that combination directly:
- EAT-A-PUNCH: melee kills heal 2 HP.
- SNACK-A-PUNCH: melee kills grant 1 shield point.
Breeze adds another source of armor against hordes. Together, those effects support the idea of fighting through a group while rebuilding protection.
The counterintuitive part is that it is better to lose temporary HP. Do not judge the build only by whether its armor total ever drops. That temporary protection is there to absorb damage rather than forcing every hit onto your health.
This is not an invulnerability claim. The description gives a defensive approach, not an exact armor target, guaranteed recovery rate, or timed rotation. Use the distinction practically: health recovery and temporary protection solve different problems, and this build wants both.
Which Jokers are shown on the end-of-run boards?
The post-run boards show the equipped setup. Those Jokers are allowed under the no-additional-pickups premise; their presence does not turn this into a zero-Joker challenge.
Only the following names and effects were confirmed by hovering them:
| Board | Joker | Confirmed effect |
|---|---|---|
| Lasso | SNACK-A-PUNCH | Melee kills grant 1 shield point |
| Lasso | LUNGE | +15% melee range and hitbox |
| Lasso | EAT-A-PUNCH | Melee kills heal 2 HP |
| Lasso | BLOODLUST | Melee kills stack +5% melee speed for 5 seconds, up to +50% |
| Lasso | PEW PEW PEW | +20% attack speed |
| Hero | GLASS CANNON | +40% weapon and melee damage, -25% HP |
| Hero | SECOND WIND | Heal 50 HP instead of dying; 180-second cooldown |
| Hero | CHONKY | +20% damage, +15% gravity |
| Hero | PRICKLY PEAR | When HP is hit, deal the same damage +15 back |
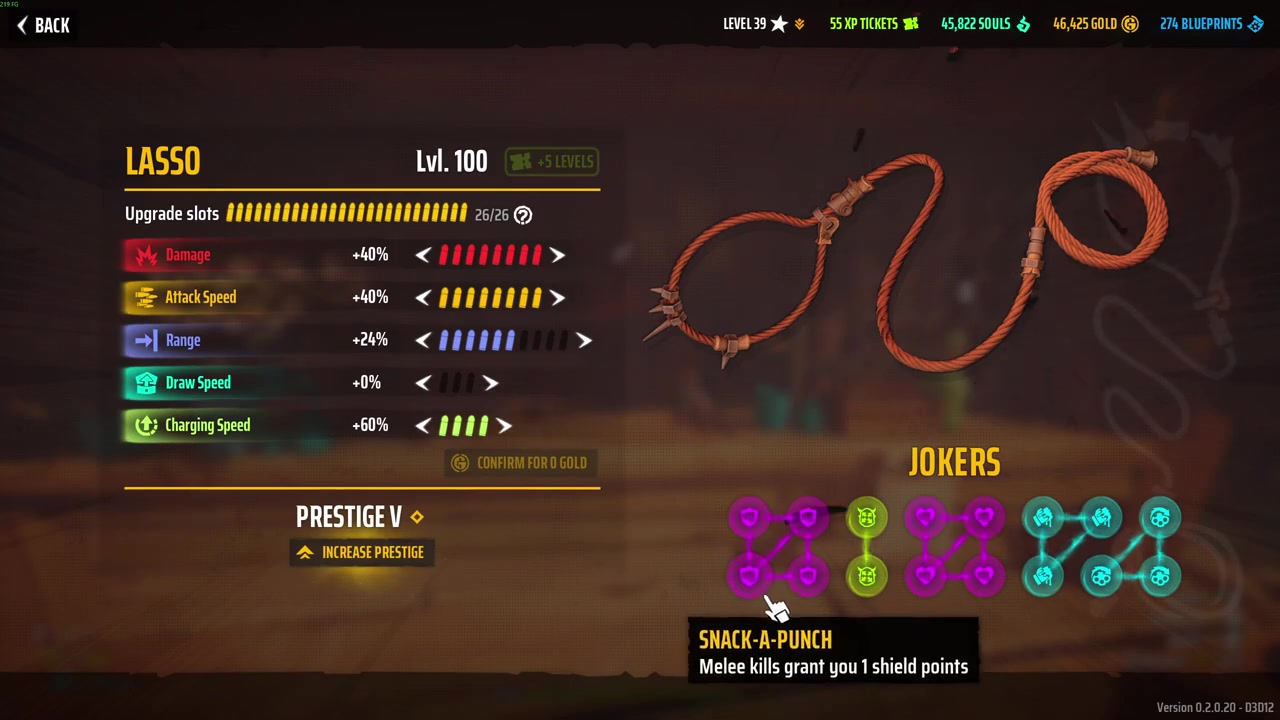
The confirmed effects explain the build’s direction: healing, shield generation, melee reach, attack speed, and damage. BLOODLUST specifically rewards continued melee kills with a temporary stacking speed bonus.
However, this is not a complete named inventory of every icon on those boards. Other icons are visible, but they were not hovered. I am not filling those gaps with guesses from another Lasso guide.
Likewise, the end boards show the equipped loadout, not a slot-by-slot acquisition history. The no-additional-Jokers claim comes from the documented run and its description, not from pretending the boards alone establish when every item was obtained.
What Lasso and Hero upgrades appear on the boards?
This clear uses a developed loadout. The end screens show these levels and prestige bonuses:
| Board | Level and prestige | Confirmed bonuses |
|---|---|---|
| Lasso | Level 100, Prestige V | Damage +40%; Attack Speed +40%; Range +24%; Draw Speed +0%; Charging Speed +60% |
| Hero | Level 39, Prestige VII | Ammo Bag +15%; Health +30; Spell Cooldown Reduction +12%; Speed +24%; Jump Height +35% |
Both boards show 26/26 slots and five pending levels.
That context matters. “No extra pickups” does not mean “fresh character with no investment.” The run demonstrates what this equipped setup can accomplish, not the minimum progression required to clear Nightmare.
It also does not establish a beginner’s spending order. The footage confirms the final bonuses, but it does not provide a step-by-step sequence for buying upgrades.
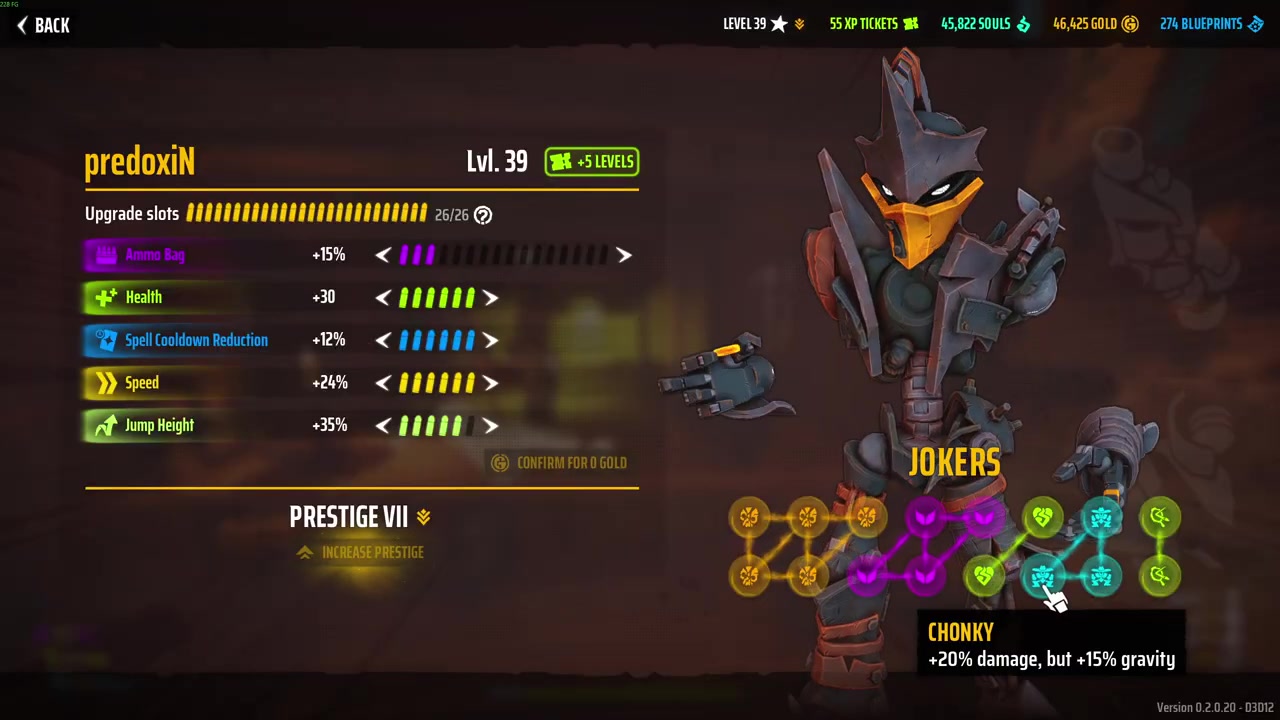
CHONKY is the offensive choice discussed in the description. There are defensive replacements, but they come with a damage tradeoff rather than being free improvements.
Why keep a ranged secondary with Lasso?
The secondary is your choice. My recommendation is a weapon with high single-target damage and range.
The main run uses a Revolver, but that does not make Revolver mandatory. The recommendation is about the role the secondary fills, not a claim that one weapon is the only viable partner.
Lasso handles the bulk of the work here. A ranged secondary gives you another way to apply single-target damage rather than asking the melee weapon to be your answer in every situation.
The final damage totals reflect that division: 99,654 damage from Lasso, compared with 7,679 from Revolver. Those are this run’s results, not promised damage targets for every attempt.
For a separate approach, see the Lasso Frost Shield build. It is a different setup; do not merge its Joker choices into this one and call it the same loadout.
How does the main Nightmare run unfold?
The useful walkthrough is a set of verified checkpoints, not an invented narration of every fight.
Around 00:29, the fresh run begins. By 00:36–00:40, the starting HUD confirms Doll, Rain, Breeze, 98 HP, and +3 Uranium.
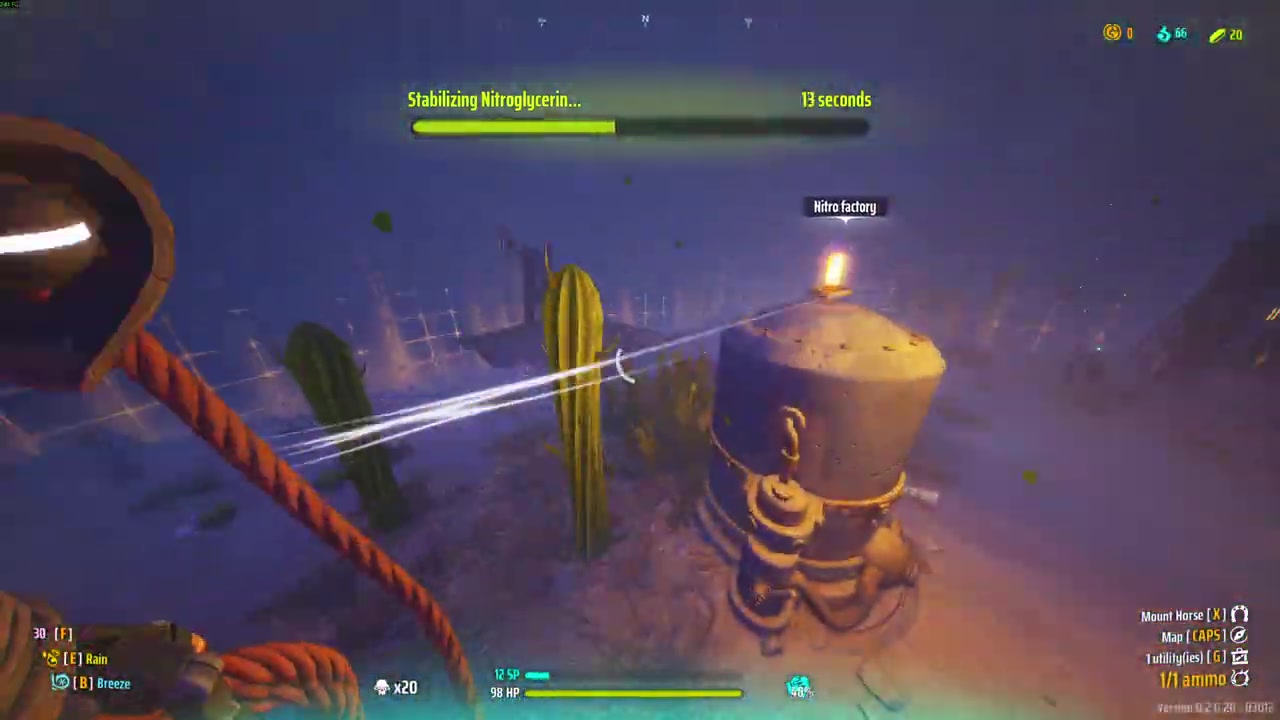
Around 03:47–03:55, the factory objective displays “Stabilizing Nitroglycerin...” Health is around 87–98, with low shield points. That prompt is objective UI, not a creator caption.
At 09:46, the Lighthouse is 258 meters away. The same spell setup remains visible, and the HUD shows 98 HP.
Around 10:48, the game reports that predoxiN has triggered a storm. Again, this is a run event shown by the interface.
Around 16:39, the anvil interface shows “Forging an item blueprint” with a 69-second timer. The footage documents that interaction; it does not establish an unseen Joker reward.
Around 23:18–23:21, a Train Arrival timer appears with x271 kills and 98 HP. This is not where the successful run ends. I do not board that train, and the run continues in the field.
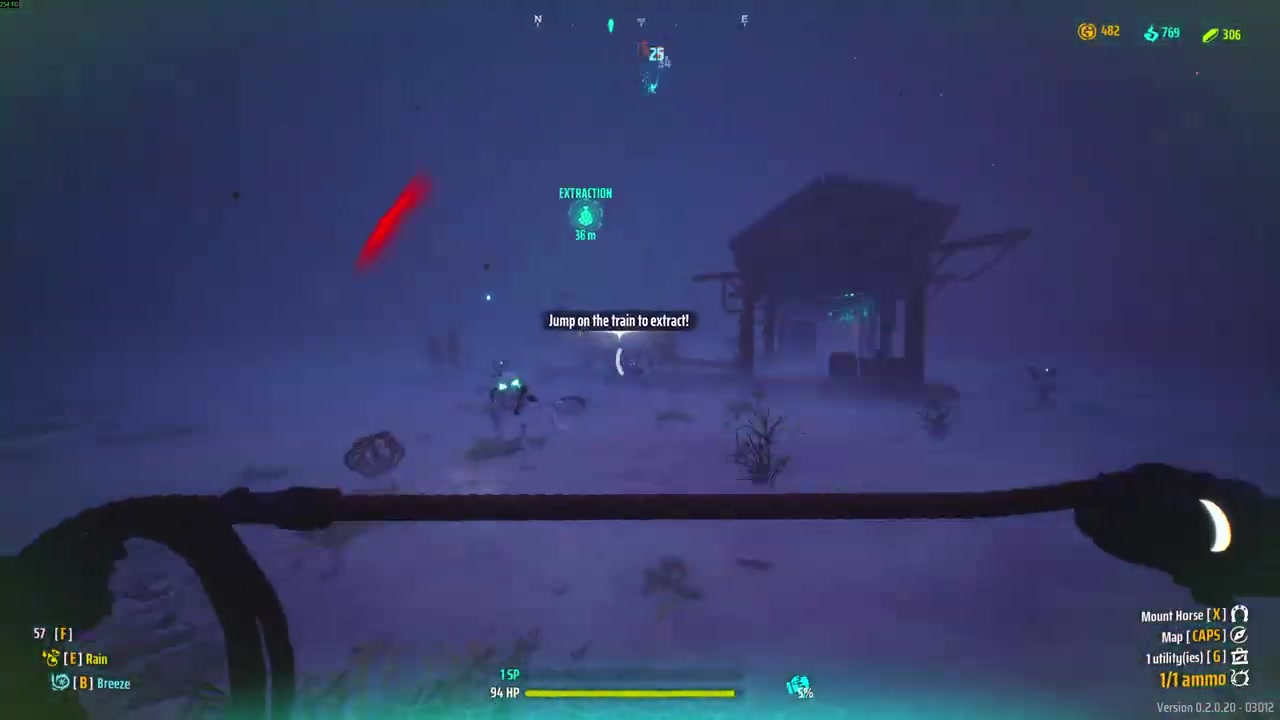
There is more large-scale combat around 27:00 before the extraction prompt appears at 29:15. Keeping those events separate avoids cutting several minutes off the actual clear.
What does the SUCCESS screen prove about the clear?
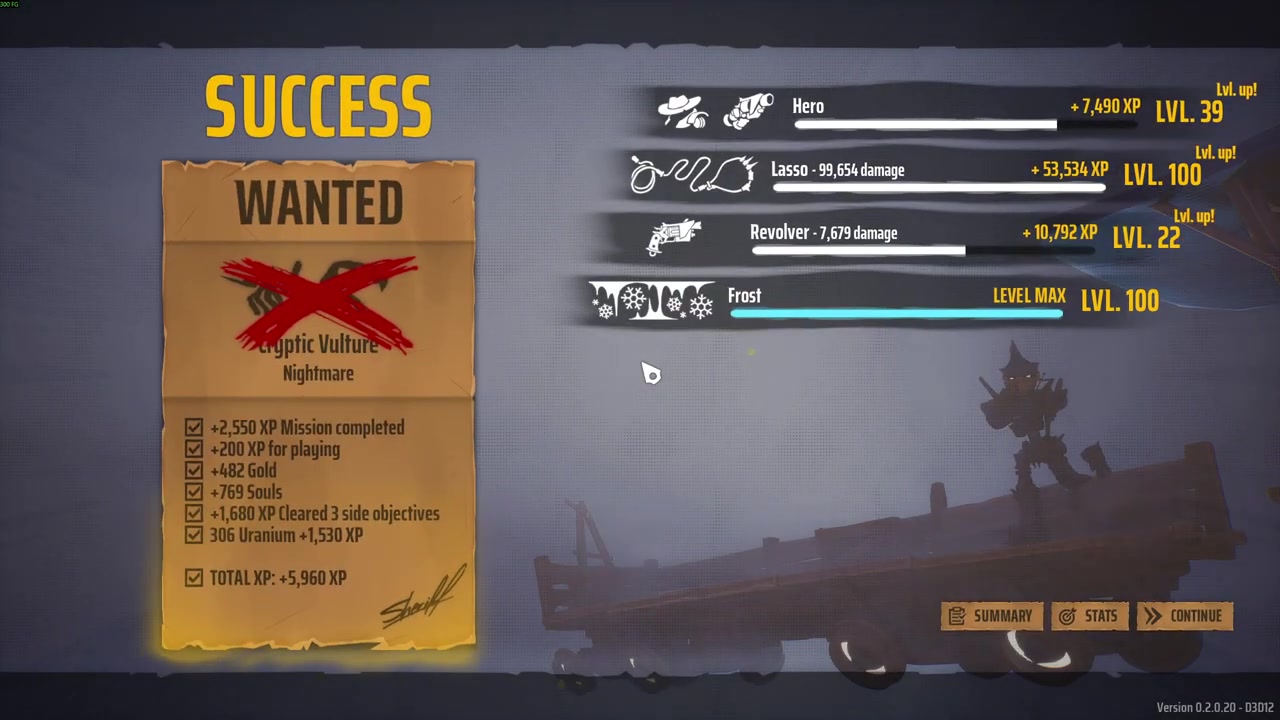
At 29:15, the game displays “Jump on the train to extract!” The HUD shows:
- 94 HP
- 15 shield points
- 482 gold
- 769 souls
- 306 uranium
The SUCCESS screen follows at 29:20–29:21, showing WANTED Cryptic Vulture, Nightmare, and a red X marking the bounty cleared.
| Result | Amount |
|---|---|
| Mission XP | +2,550 |
| Playing XP | +200 |
| Gold | +482 |
| Souls | +769 |
| XP from clearing 3 side objectives | +1,680 |
| Uranium | 306 |
| XP from Uranium | +1,530 |
| Total XP | +5,960 |
The progression breakdown is also visible:
| Progression | Result |
|---|---|
| Hero | +7,490 XP; Level 39; level-up indicator |
| Lasso | 99,654 damage; +53,534 XP; Level 100; level-up indicator |
| Revolver | 7,679 damage; +10,792 XP; Level 22; level-up indicator |
| Frost | Level Max; Level 100 |
The scrolled 29:21 frame confirms Revolver Level 22. A transitional frame can make that number look different.
These results establish a successful Nightmare clear with the documented setup. They do not turn one successful attempt into a universal win guarantee.
When should I choose CHONKY or a more defensive Joker instead?
Keep CHONKY if you want the offensive version shown here. Its confirmed effect is +20% damage and +15% gravity, and my description identifies an important consequence: it supports one-shotting basic Cryptids.
For a more defensive build, you can replace it with Last Bastion or Great Wall.
The cost is explicit: without CHONKY, you will not one-shot basic Cryptids with the setup discussed here. That is not a minor detail when deciding how much offense to trade away.
Solo is DPS! Defensive options have a place, but removing damage changes how the build handles ordinary enemies. Choose the tradeoff deliberately rather than assuming the defensive version keeps every offensive benefit.
If you want another melee option to compare, the Knuckle Dusters melee build is a separate guide, not an alternate weapon slot for this exact setup.
What should I take away from this no-pickup run?
Copy the plan before chasing individual numbers:
- Keep Doll for Elite support.
- Use Breeze and Rain together for hordes and armor.
- Combine healing with temporary protection.
- Bring a ranged, high-single-target-damage secondary.
- Understand CHONKY’s damage tradeoff before replacing it.
Most importantly, do not confuse no additional Joker pickups with no equipped Jokers. This build starts prepared.
The no-Jokers Nightmare challenge explores a different premise. This run’s value is showing that a prepared Lasso loadout can finish without needing more Jokers along the way.
What does the later Red Elites clip show?
The caption at 29:43–29:48 belongs to a different, later clip:
“With a couple of good Jokers picked up during the run, you can beat Red Elites without spells.”
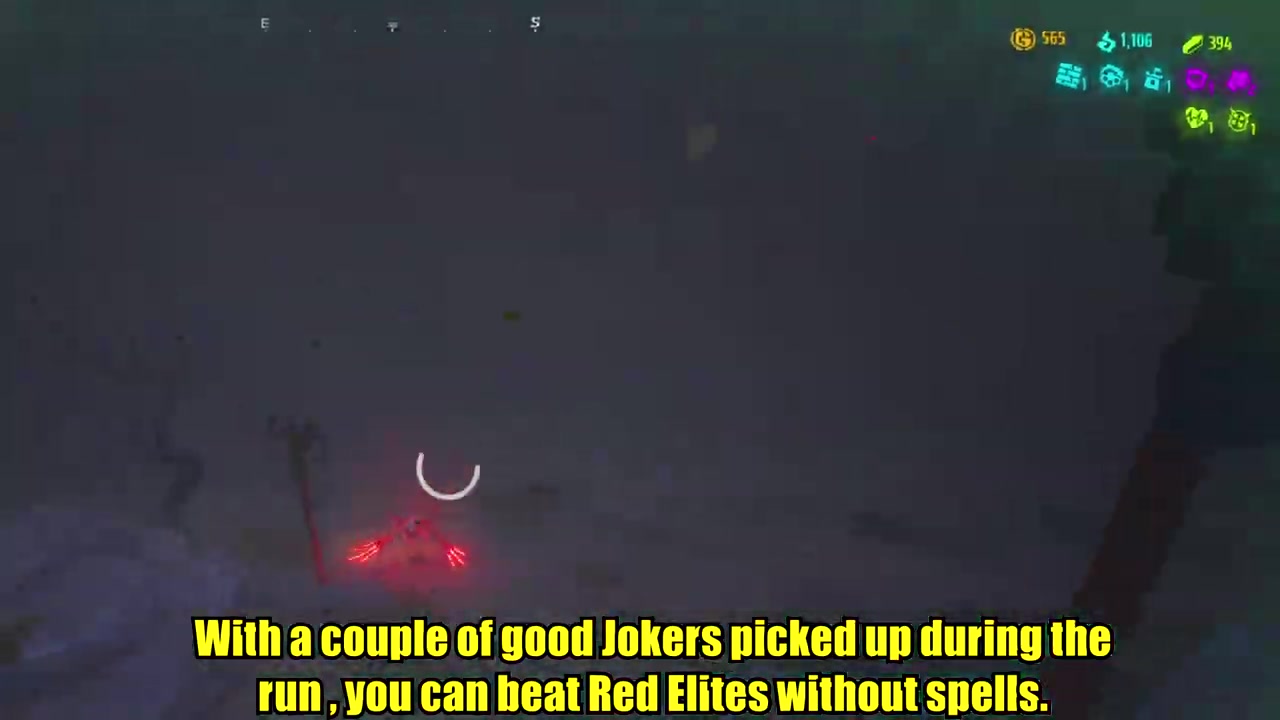
Its HUD makes the separation clear: 565 gold, 1,105–1,106 souls, 394 uranium, and Pistolero in the F slot rather than Doll.
Treat this as an optional later tip about what additional pickups can enable. It is not part of the main no-pickup clear, and it is not evidence that you should remove Doll from the documented Nightmare setup.
What else should I know before copying the build?
Which game version does the footage show?
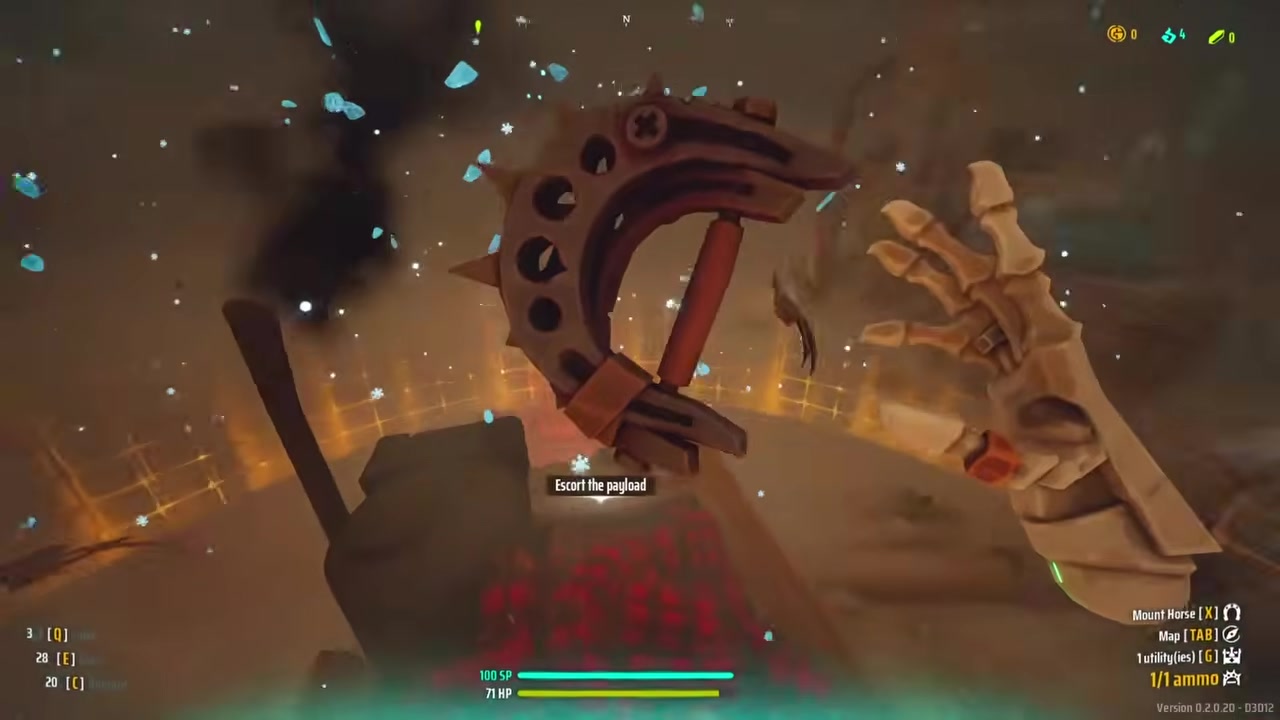
The HUD shows Version 0.2.0.20. That is the version context for the documented results and displayed bonuses; the footage does not establish how later balance changes might affect the setup.
Is there spoken commentary explaining the decisions?
No. The video is no-commentary gameplay with music. The explanations here draw from my written description, confirmed UI, and burned-in captions—not a spoken transcript.
Does the video provide a precise spell rotation?
No timed rotation is supplied. The supported guidance is about roles: Doll for Elites, Breeze for Elites and horde armor, and Breeze combined with Rain for clearing hordes while gaining armor.
Are the Hero board’s currency totals the mission reward?
No. The Hero screen’s 45,822 souls, 46,425 gold, and 274 blueprints are account totals. The mission payout is the separate SUCCESS-screen result: 482 gold, 769 souls, and 306 uranium.
Is there a confirmed Revolver Joker list?
No Revolver Joker board was captured. The weapon itself and its final damage and progression are confirmed, but there is no supported named Joker list to copy for it.
Does “GUARANTEED WIN” mean every attempt will succeed?
That wording appears in the original video title, This Lasso Build is a GUARANTEED WIN in Solo Nightmare Without Picking Up Jokers - Far Far West. The footage proves this successful clear, not that every player or every attempt will win. Lasso is very good; calling it “OP” does not explain how to use it.
For the full walkthrough, check the